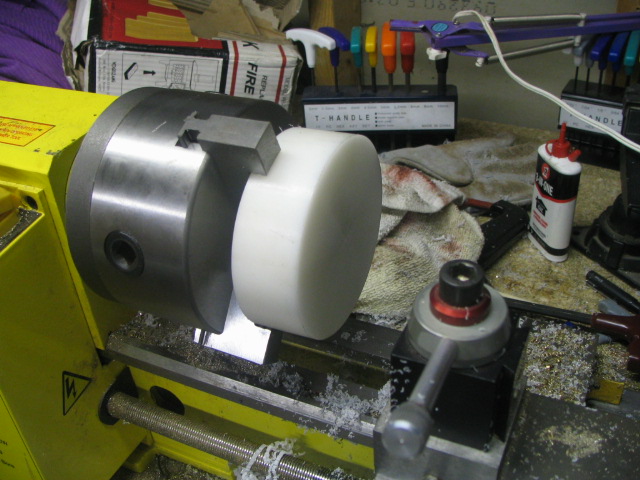
This is the blank chucked up in the new 5" chuck for the lathe. The little 3" one just was not big enough. The outside dimension of the tire right now is 4". I am eventually cutting it down to 3-3/4" but right now I am going to get the hole through the center. Oh, that is a piece of delrin that I bought on ebay. It is a machineable plastic. It cuts really nice.
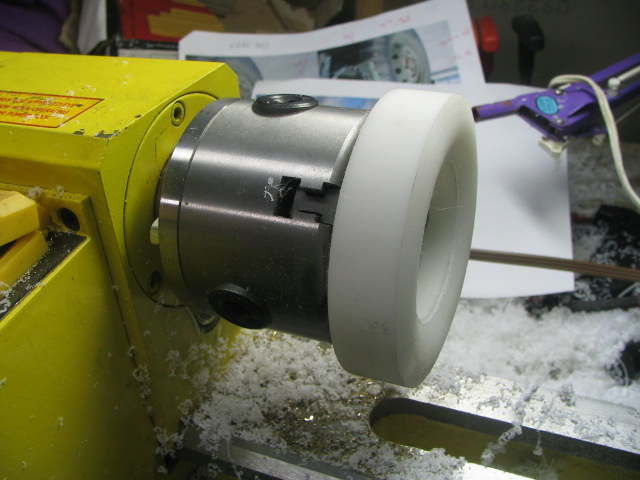
I got the wheel hole machined and I switched over to the 3" chuck. I am now going to turn the outside down to the correct diameter.
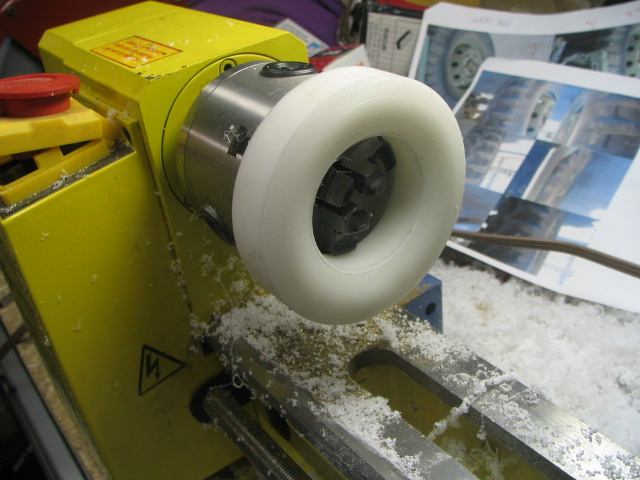
Just another view of the shot above. I mentioned screwups. At the time, I did not know that this was my first screwup. I got the tire center hole about 20-30 thousandths too deep. My rim does not quite fit the tire correctly.
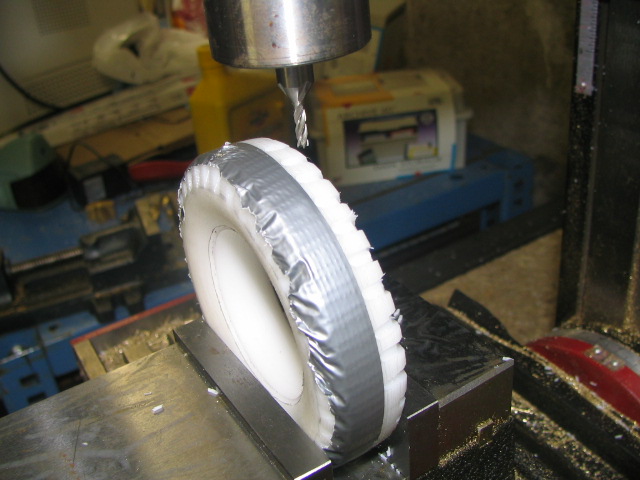
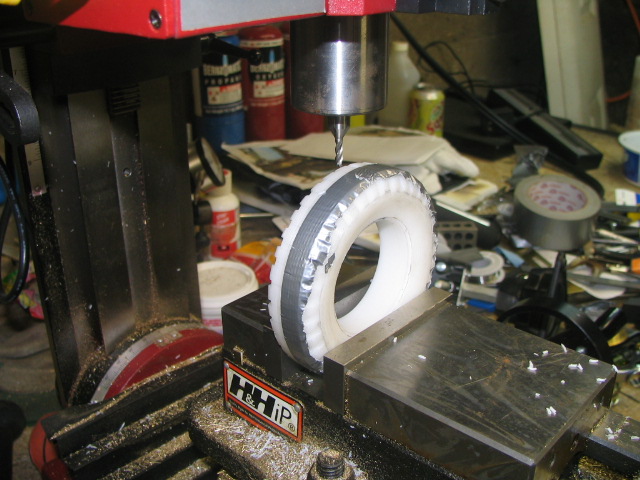
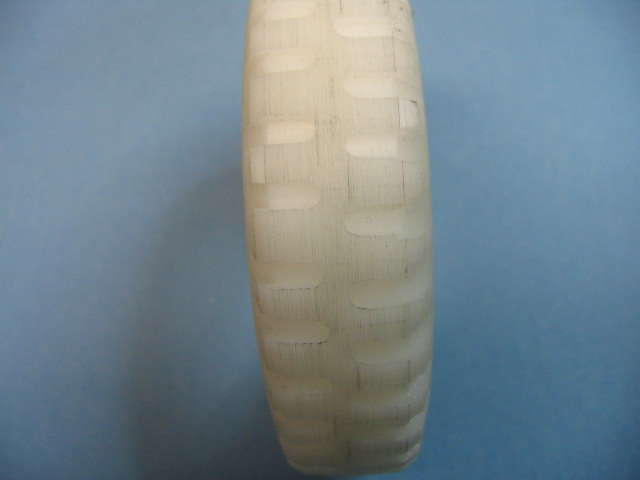
I am milling the tread into the tire. You will see later that it did not come out perfect. This was the second screwup.
Another angle shot from above.
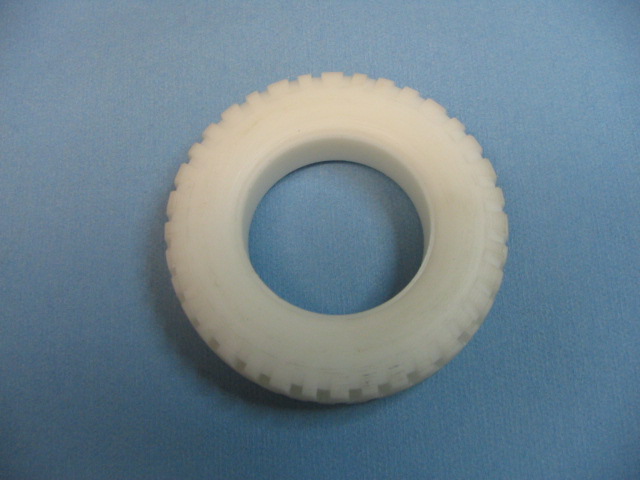
The mostly finished blank. I eventually added the manufacturer's name onto the tire with wire.
Here is one of my screwups. Had I had a rotary table, this would have been MUCH nicer. The treads should be lines up with a cutout directly across. I did not quite make that. It was tough to eyeball the cutter with my scribed lines on the tire. Oh well, better luck next time.
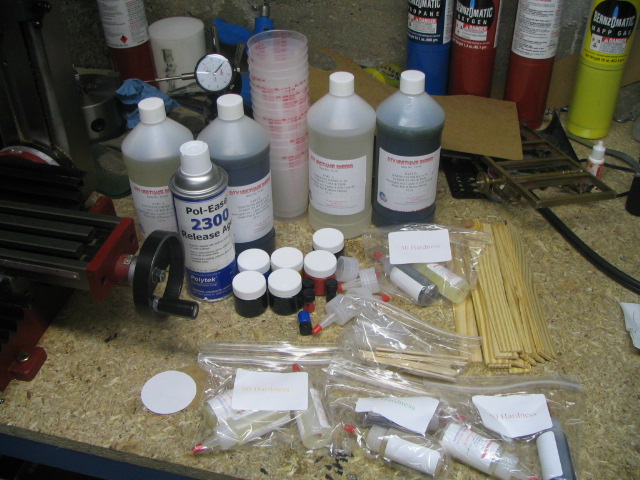
This is the urethane rubber casting compound that I bought on ebay. I got shore 30 and shore 60. The shore 30 compound is really flexible and I used that for the mold. The shore 60 is firmer (almost like a real tire) and I used that for the tire. When I make my next tires, I am going to use a shore 80 for the mold and 60 for the tires. The 30 is just too flexible and I got some waves in the tires.
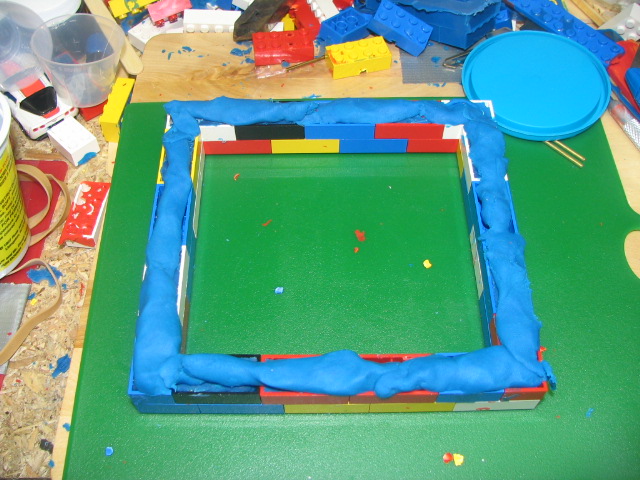
I built a box out of a set of LEGOS and sealed the bottom with some cheap generic Play-Doh that I got at WallyWorld. Word of warning. DO NOT USE YOUR KIDS LEGO SET THAT YOUR WIFE'S GREAT AUNT GOT THE KIDS FOR CHRISTMAS. YOU WILL BE IN THE DOGHOUSE. The rubber compound sticks and gets into crevices and makes a general mess out of the bricks. Not to mention, the Play-Doh fills up parts of the bottom bricks. YOU HAVE BEEN WARNED.
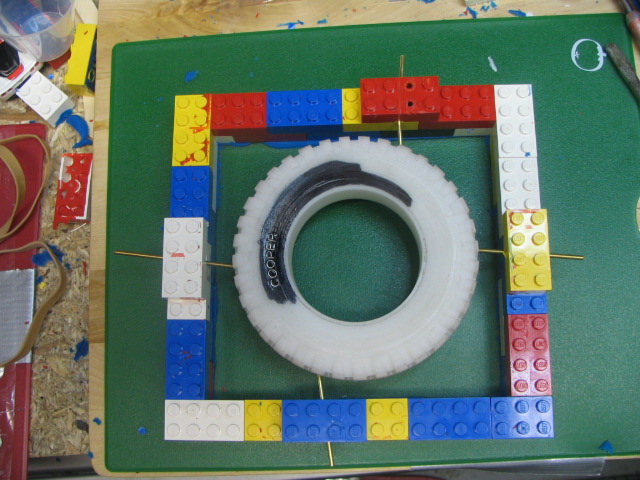
Third screwup. I suspended the tire with some brass rod balanced on the tread cutouts. Big mistake. When I poured the bottom of the mold, the tire was not quite level, so I tried to relevel it. It was tough to get the tire balanced when it was dry, it was harder after it dropped in the mold compound a few times. My next tires, I will drill small holes for the wire to actually press into.
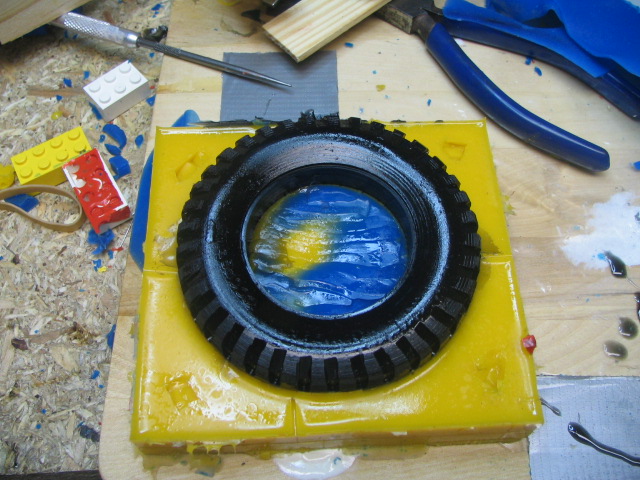
I got the bottom poured. You can also see where some of the yellow molding compound "splashed" up on the face of the tire after I tried to reposition it. That was a pain in the rear getting it seated onto the rods again. You can also see the lettering that I added onto the blank.
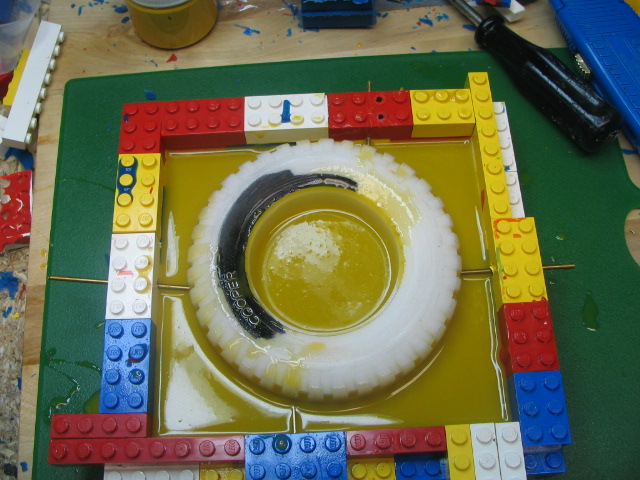
I got the top half of the mold poured and clamped together. I had since filled the mold up with black compound. I bought a dye kit from the seller to dye the compound. I got red, yellow, blue, and black dye. I dyed both halves of the mold different colors so that I could see each individual mold halves easier.
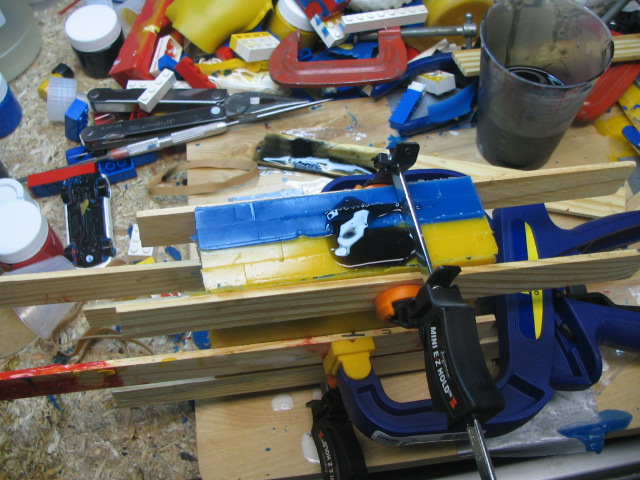
Here is actually the second tire after pulling the top half of the mold off. In the center you can see where I had to cut the mold apart. When I poured the blue part of the mold, I forgot to spray the mold release agent onto the blank and the bottom half of the mold. I had already started pouring the center by the time I realized my mistake. Luckily I caught it then, because had I not, I would have had a real stuck together mess.
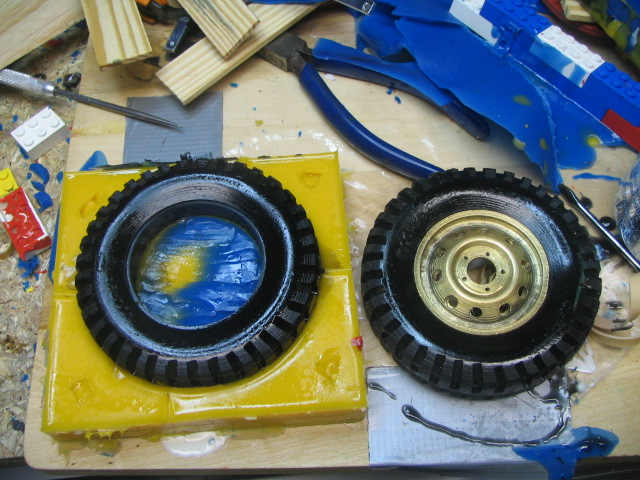
This is the first tire with the wheel installed and the second tire still in the bottom half of the mold. All in all, this really did not turn out too bad. I took the tires to work and showed some of my co-workers and they were rather impressed.

