I am going to attempt to make two of these.

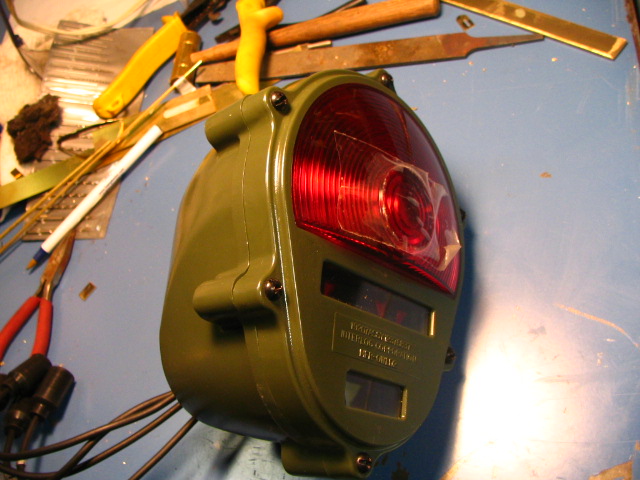
A finished taillight and the parts required to make the second. There are two thicknesses of brass plate that make up the front portion of the taillight. There is actually a seam inbetween the two thicknesses to denote where it comes apart to change the light bulbs.
A side view of the finished taillight. You can see the thicker part of the front of the light on this shot.
Front view.
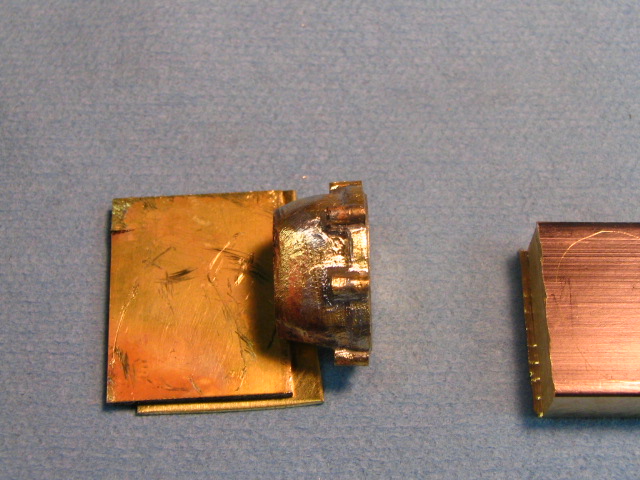
This is the thicker front section with the holes drilled for the screw mounts. I need to file this down until only half of the hole is showing.
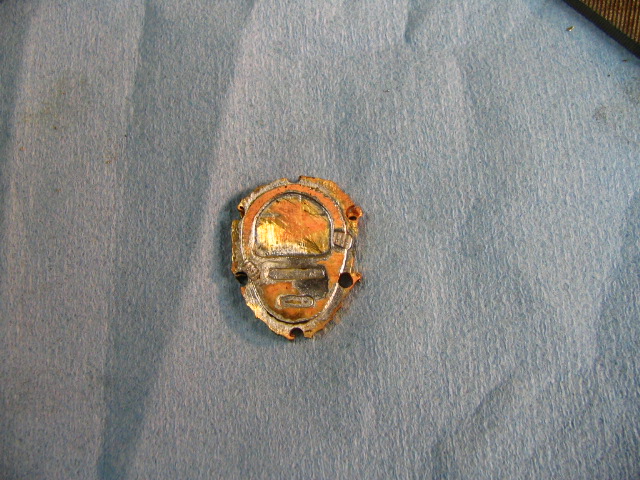
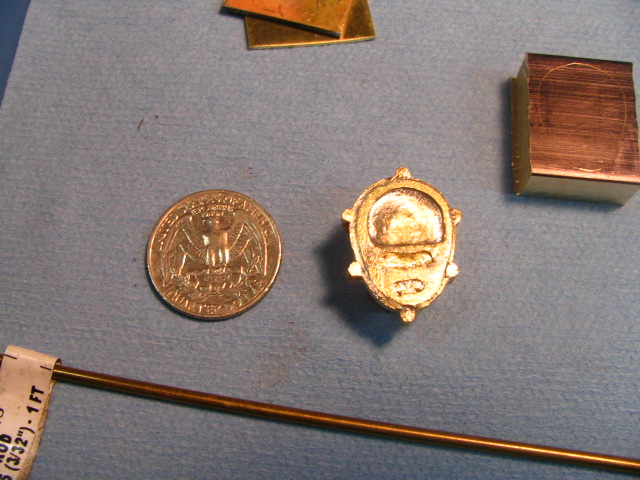
The face detail soldered to the above piece.
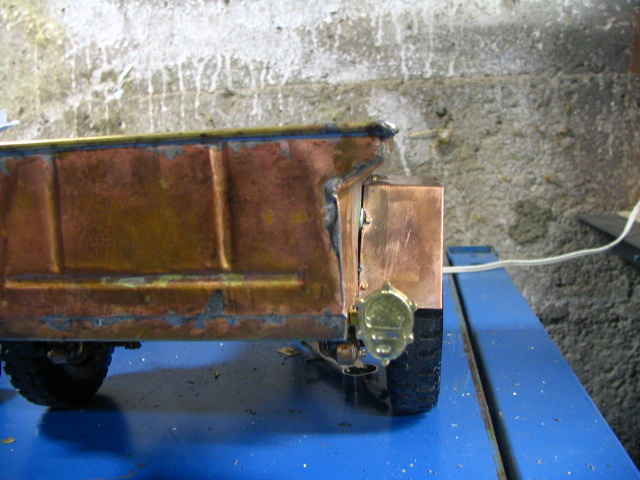
Finished and installed.
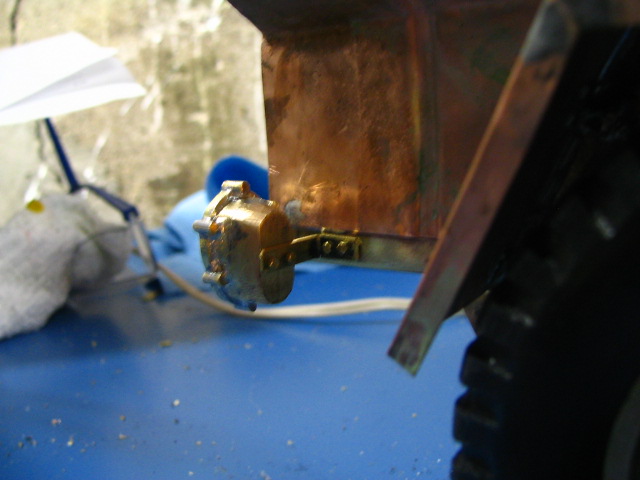
Installed view. I actually drilled two holes and threaded them with a 00-90 tap in the back of the taillight just like the prototype. The screws going into the trailer is a 00-90 bolt and nut. It all comes apart just like the real deal. I still need to put some bolt detail on the front of the lights. These will just be decorative and they will not turn off.

