
From the top is the cardboard pattern for the front and back panels, the rough cut blank and a finished panel.

This is sort of hard to see, but it is the jig I made to add the strengthening ribs onto the panels. I took a 1x4 and ran a 1/16" deep slot down the center of it with my table saw. I cut it whatever the blade width was which was just over 1/8". I then took a piece of 1/8" x 3/4" flat brass and filed a rounded edge on the long side. I then scribed my panel where I needed ribs, lined up the scribed line with the slot in the 1x4 and hammered the brass onto the panel. It worked amazingly well.

The finished floor using the above technique.
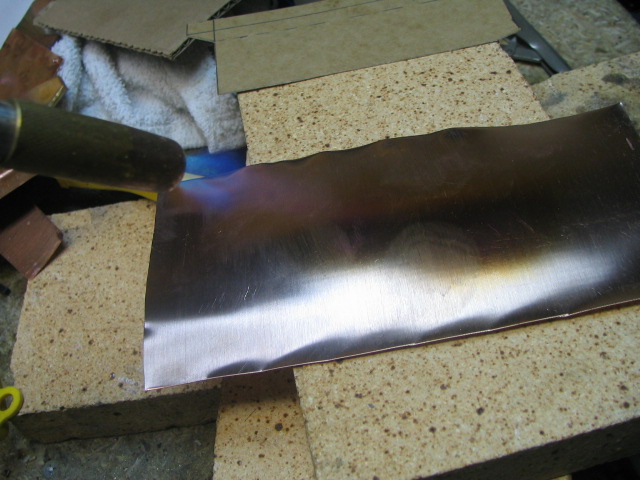
I am not sure which panel this is, but I am annealing it to make the copper softer. I heat it until it starts to change color and then let it cool. The copper because VERY pliable.
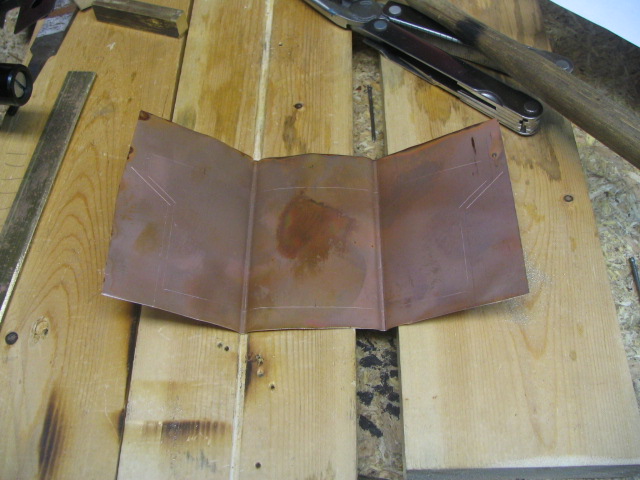
This is the start of the front panel. The front one did not have the horizontal rib in it.
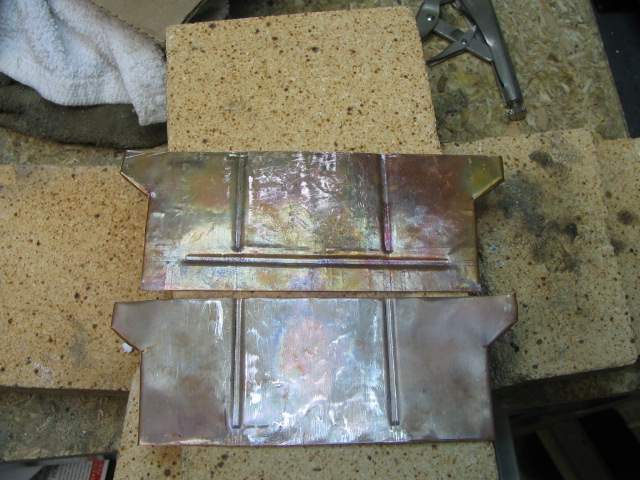
The front and rear panels.
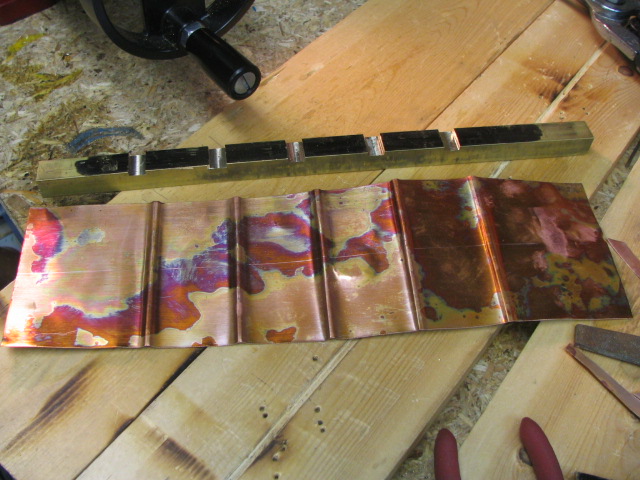
This is the start of the side panels. I was surprised on how much this stuff warped and went in every direction but still came out nice. At the top is my "jig" that I machined. I needed a way to clamp the panel to put the breaks in it without crushing the ribs. I took some 1/2" square brass and milled slots in it. I then took it and put it on the raised rib side and a plain piece on the other side. I clamped them together and bent the copper by hand.
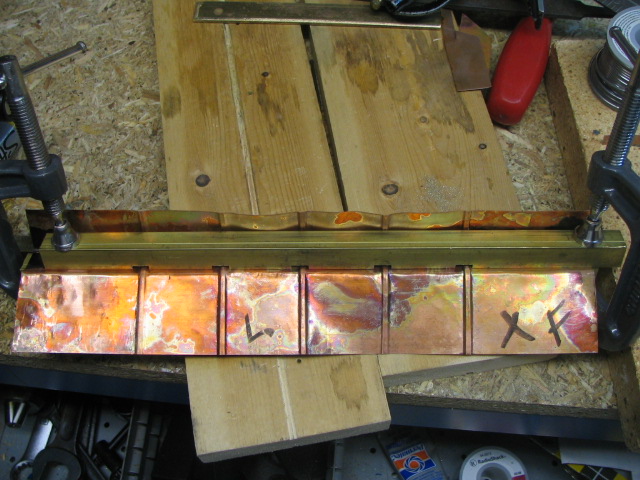
Bending the copper in the jig.
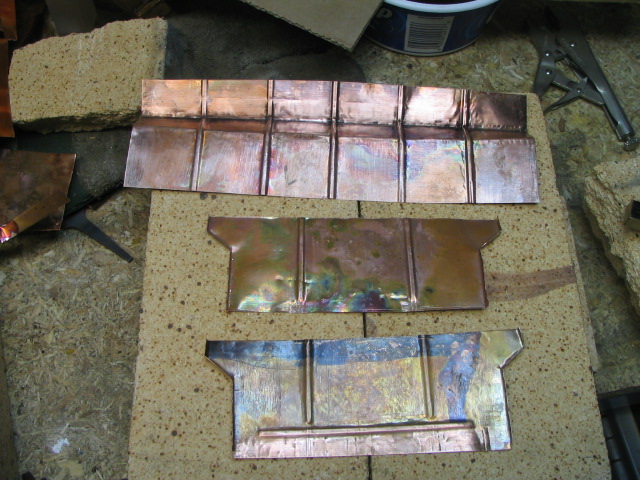
Another collection of parts.
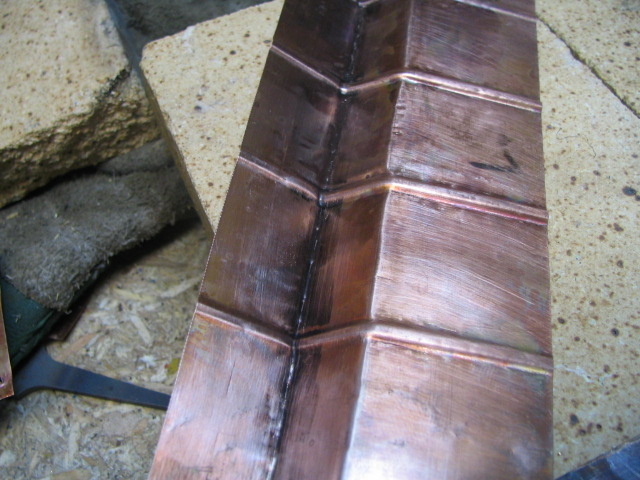
A shot of one of the side panels.
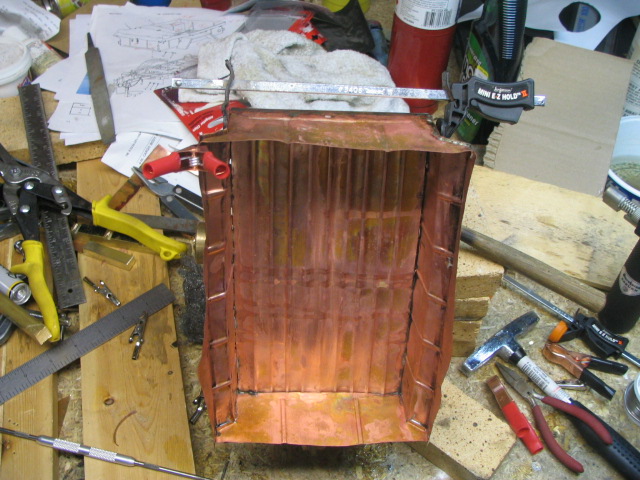
Starting to solder the sides together.
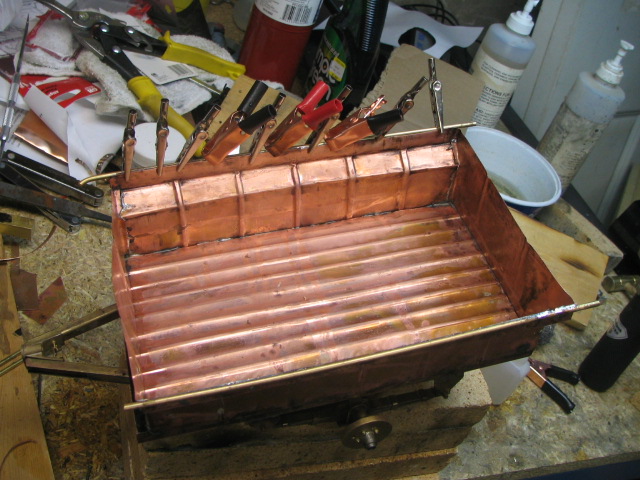
Soldering the 1/8" lip on the outer edge. This is a solid core brass rod. The scale would be 1" in real life.
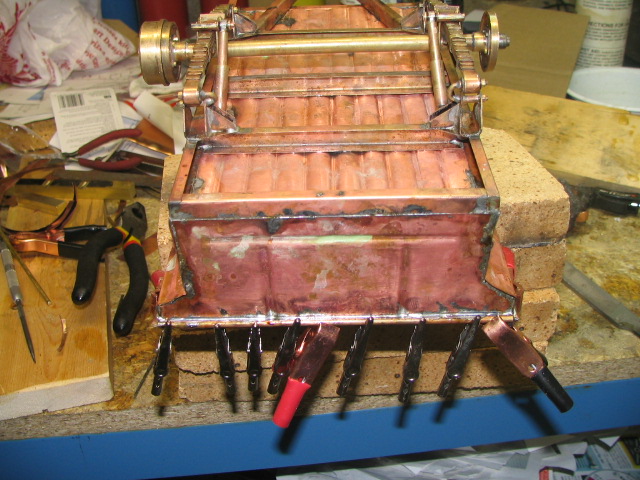
I soldered the lip on from the bottom after clamping it on real good.
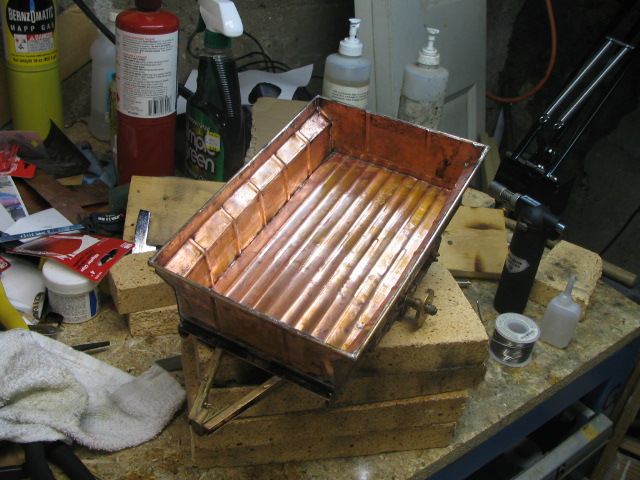
The mostly finished box. I still need to do some cleanup on it.

