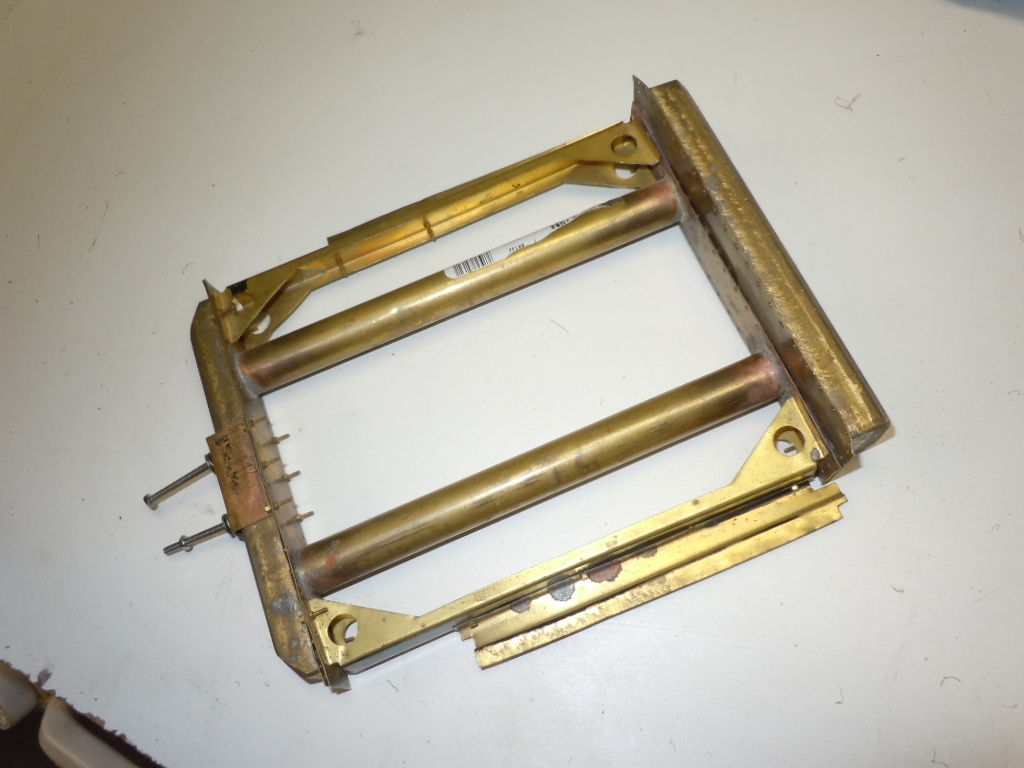
I need to take this mess that I started in 2008 and...
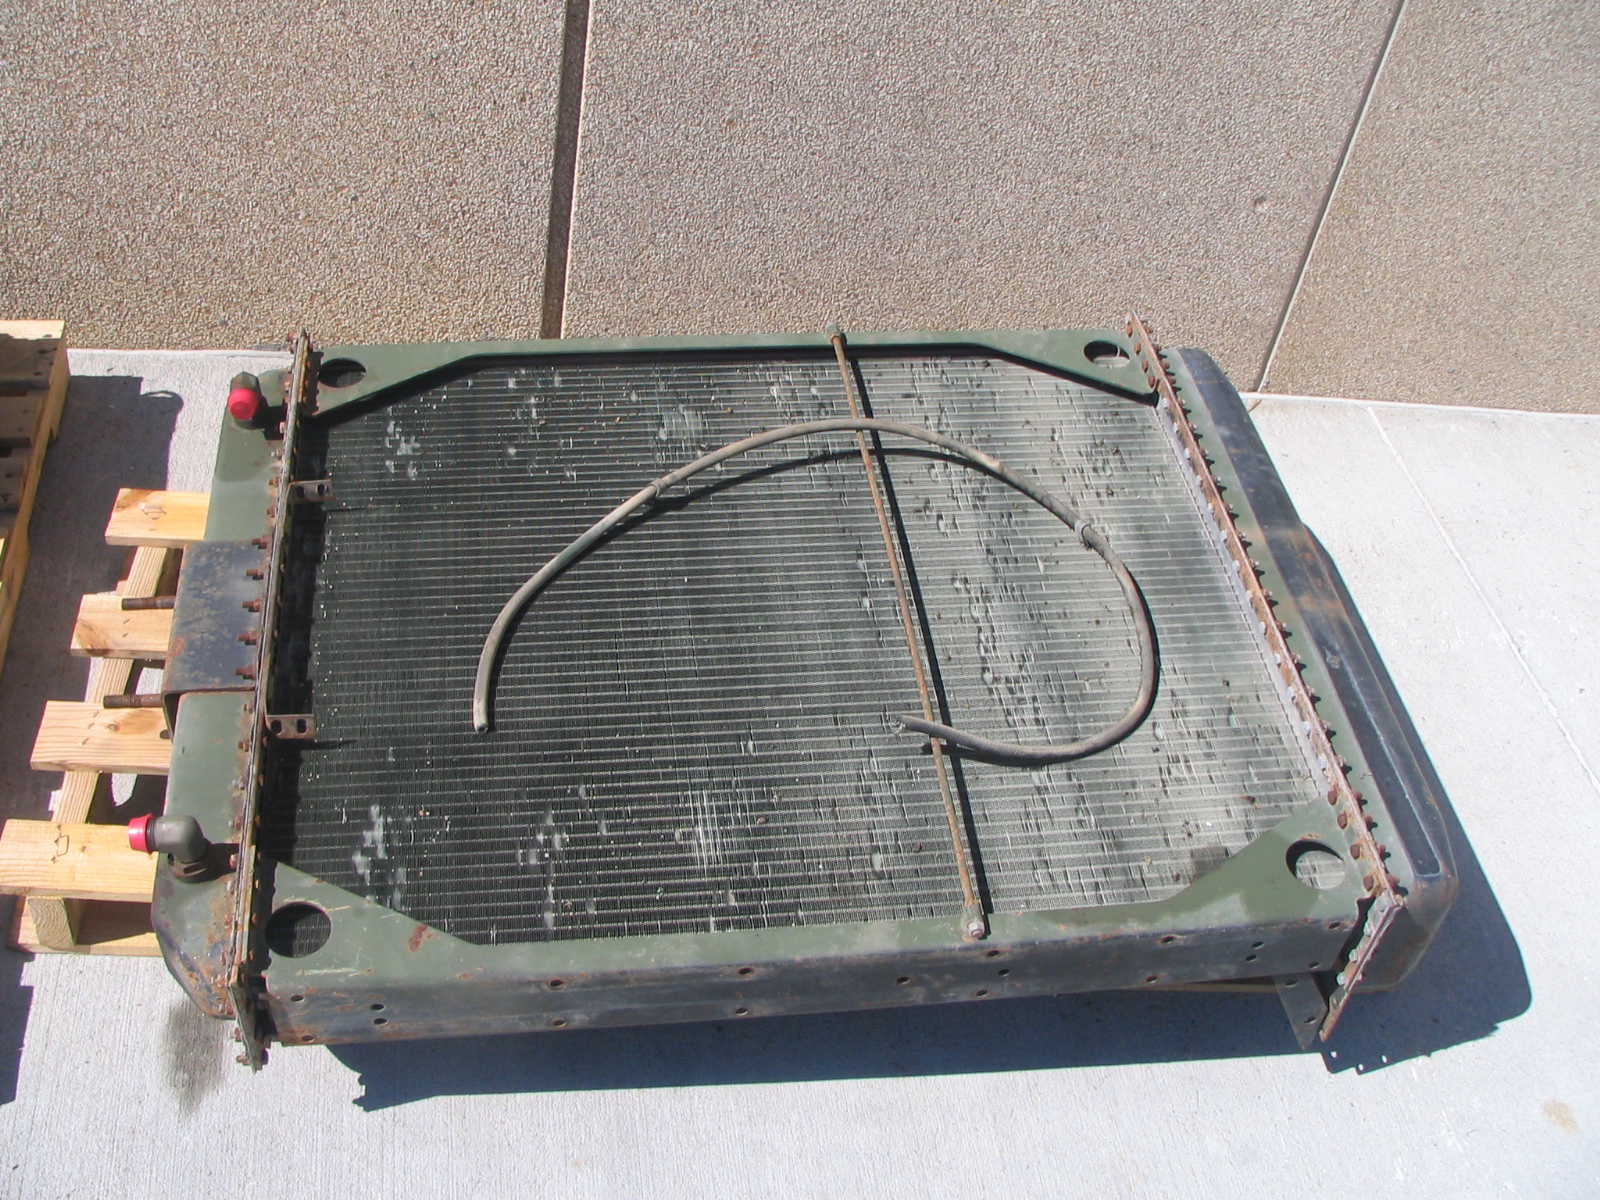
make it into a reasonable copy of this.
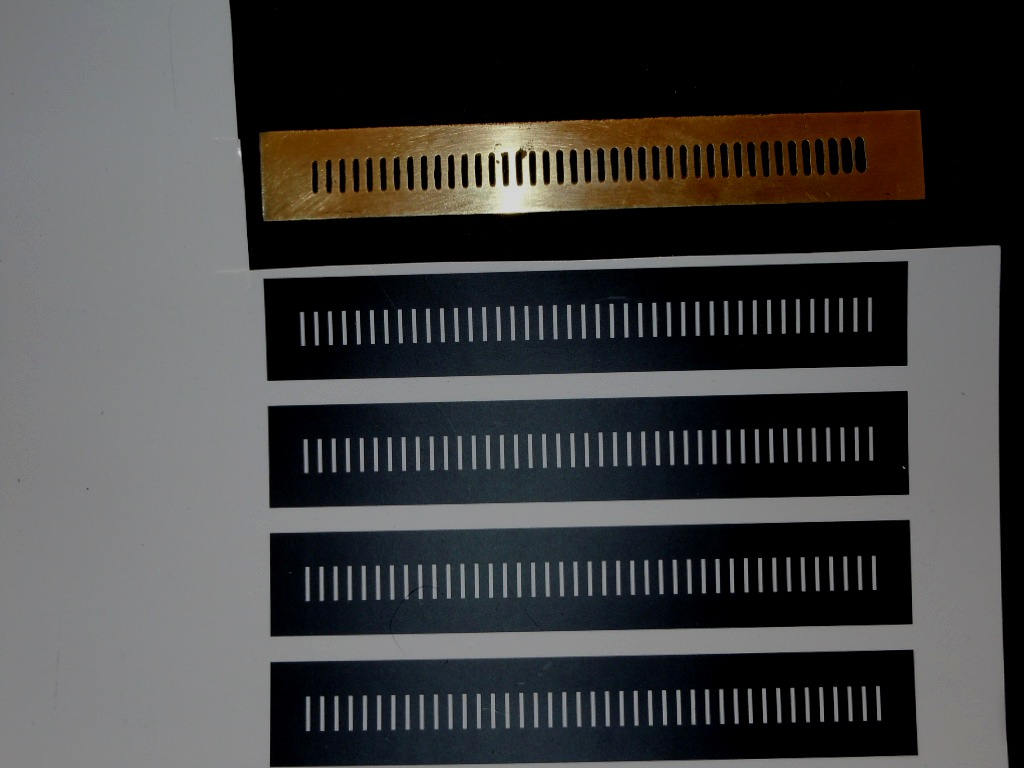
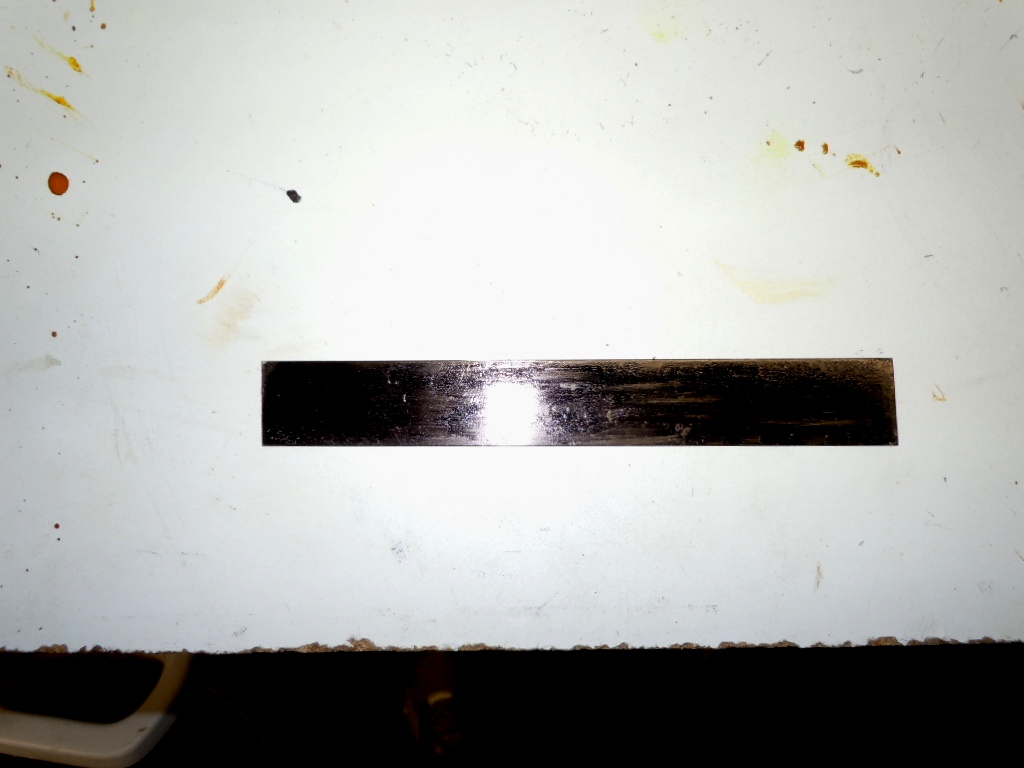
I'm going to start with the top and bottom headers of the radiators. My dad owned a radiator shop back in the day, so I have a fairly good understanding on how these are built. These headers need a bunch of slots for the pieces I am using for the tubes. So....looks like I need to learn photoetching! I am using a process that uses a laserjet printer to make the mask. First step...make the mask. Any drawing program will work, but I used an Excel spreadsheet to draw this one out. It has three rows (Top row, the middle row with the slots, and the bottom row) and a whole bunch of columns (the slots and the pieces in between the slots). I used a color laserjet and I set the setting so it would only print black. You want the mask as black as possible. The first part I made is on top and is .016" thick brass. It didn't come out too bad.
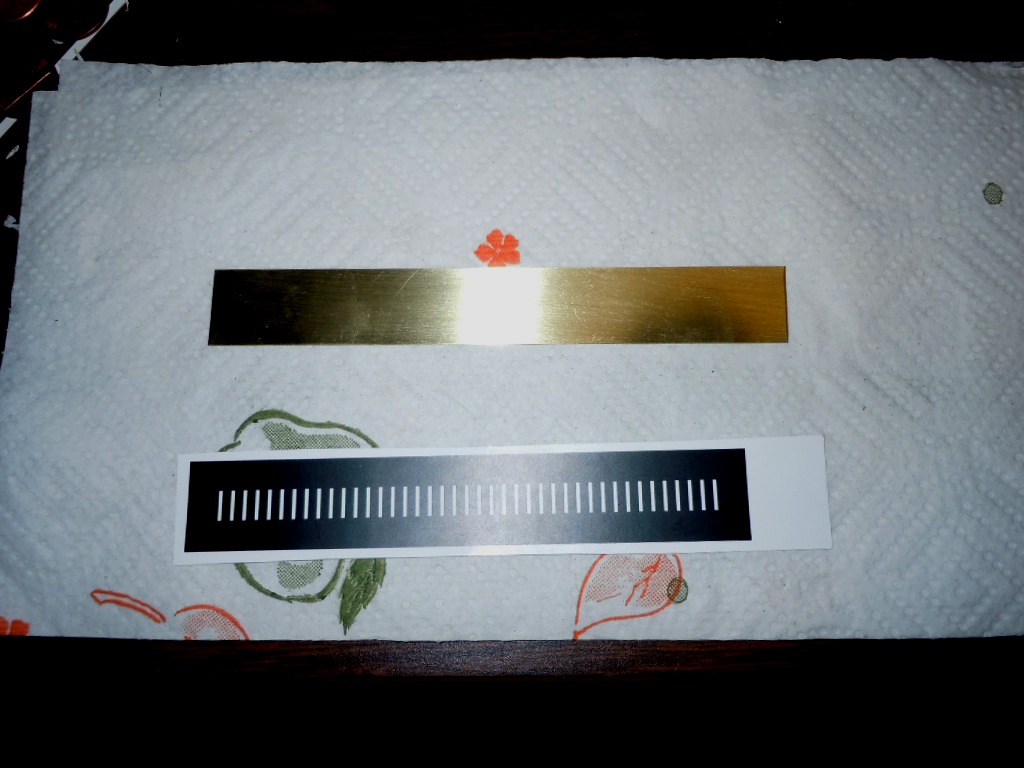
I spaced off my picture. The mask needs to be cut out of the sheet but trimmed close to the print. All of that excess white got trimmed away.
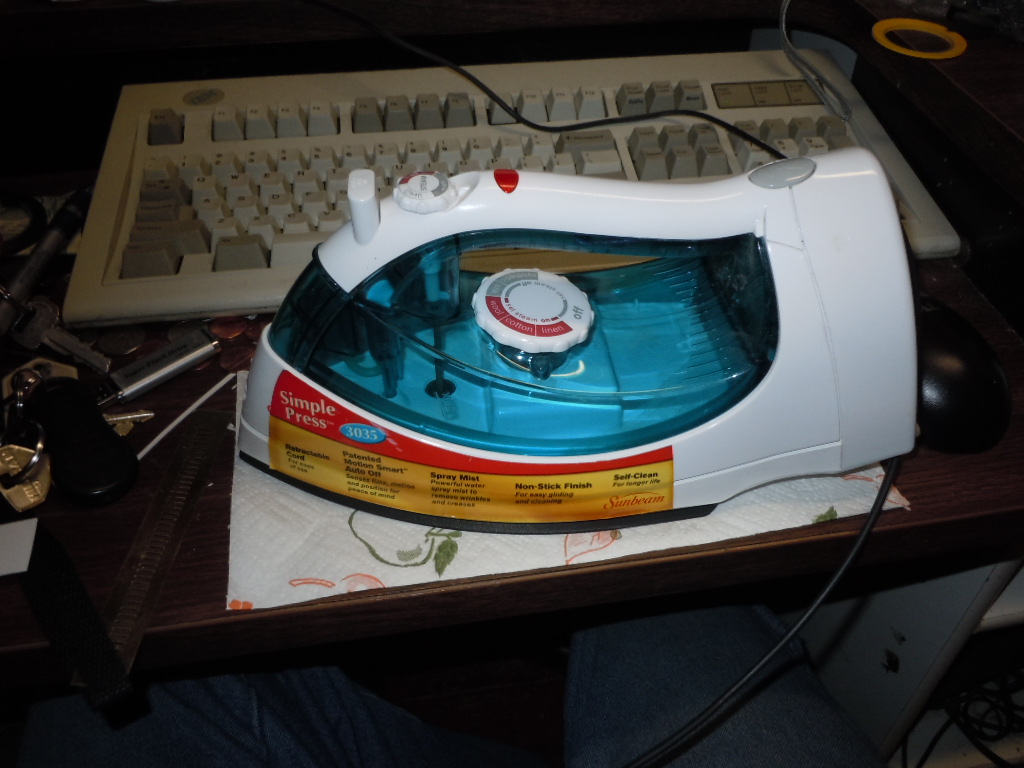
I took an regular old clothes iron and I preheat the brass that I need the mask on. Use the hottest settings that you can. I probably heated the brass for a minute. Once it is nice and hot, take the mask with the print side down and place it on top of the hot brass. You have once chance to get it right. If you miss, peel it off, clean the brass up and try again. Once you get the mask on, use the iron to go over every last millimeter on the mask. You want the ink melted onto the brass. I probably did this step for at least a couple of minutes. Really work the iron across the mask too.
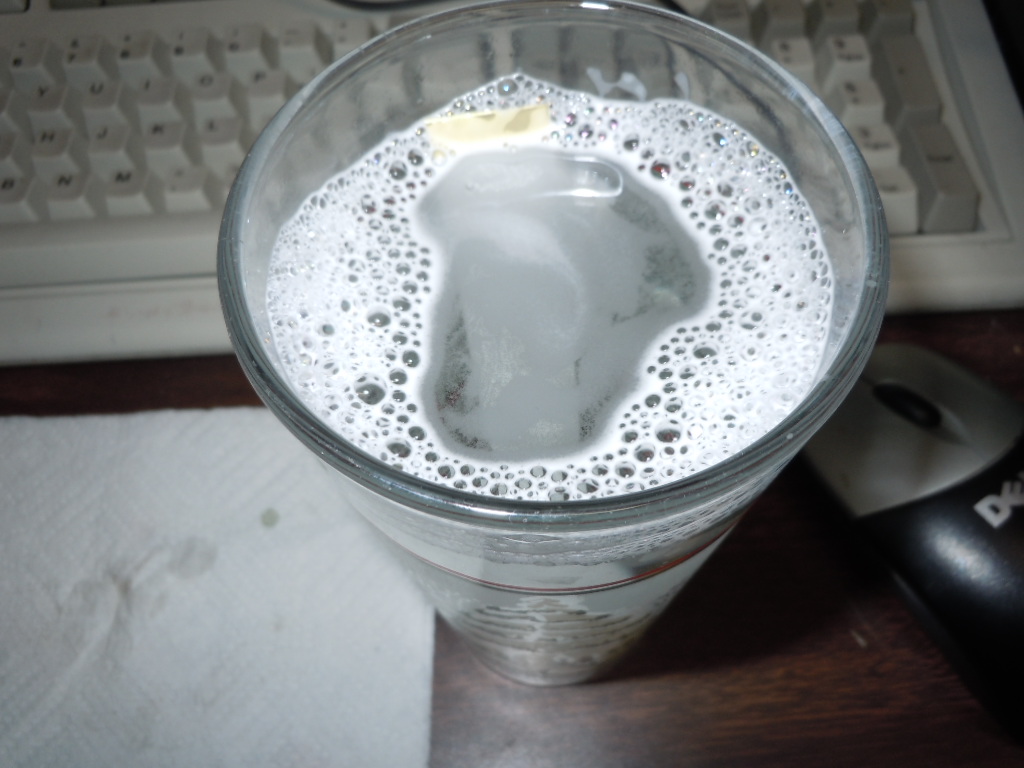
Once you have it pressed, let the brass plate cool for a bit. Then take it and let it soak in some water.
Start working your thumb over the wet paper and start peeling it away. You want only the ink left, although having a little paper stuck on, won't hurt any.
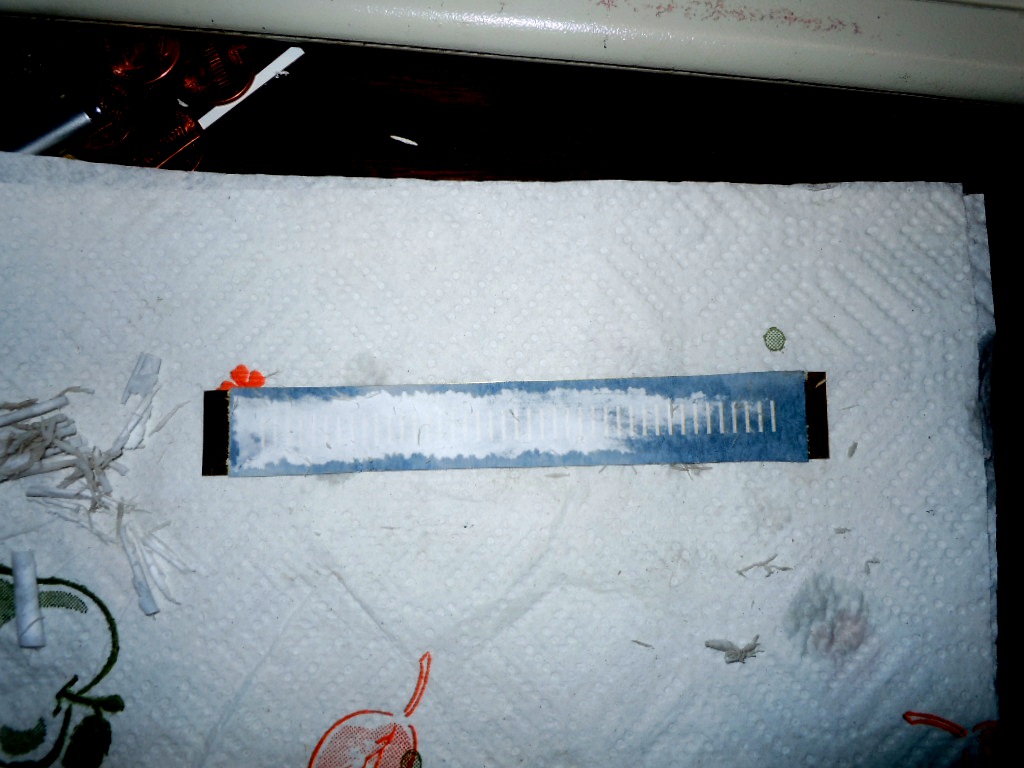
I got a good portion of the paper off here. I also used a toothbrush to get the paper out of all the slots. I want those slots to be bare brass for the ferric chloride to do its job. I used a black marker to cover any pinholes or bare spots that I do not want gone.
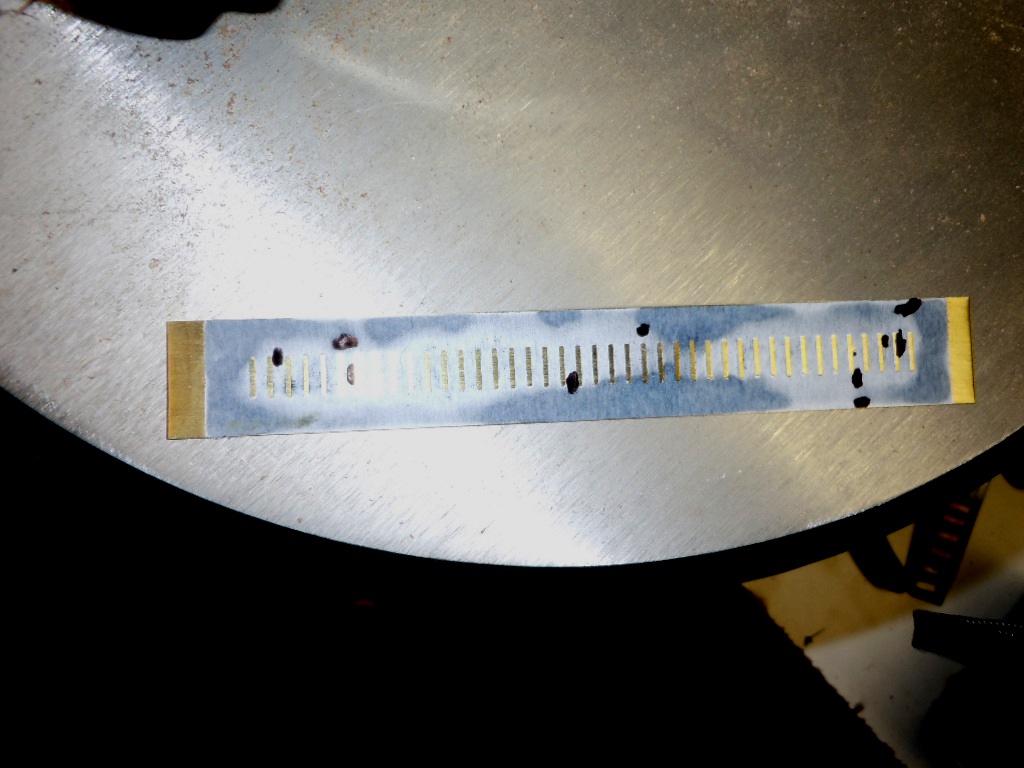
Coat any bare brass (including the back side with a black magic marker.
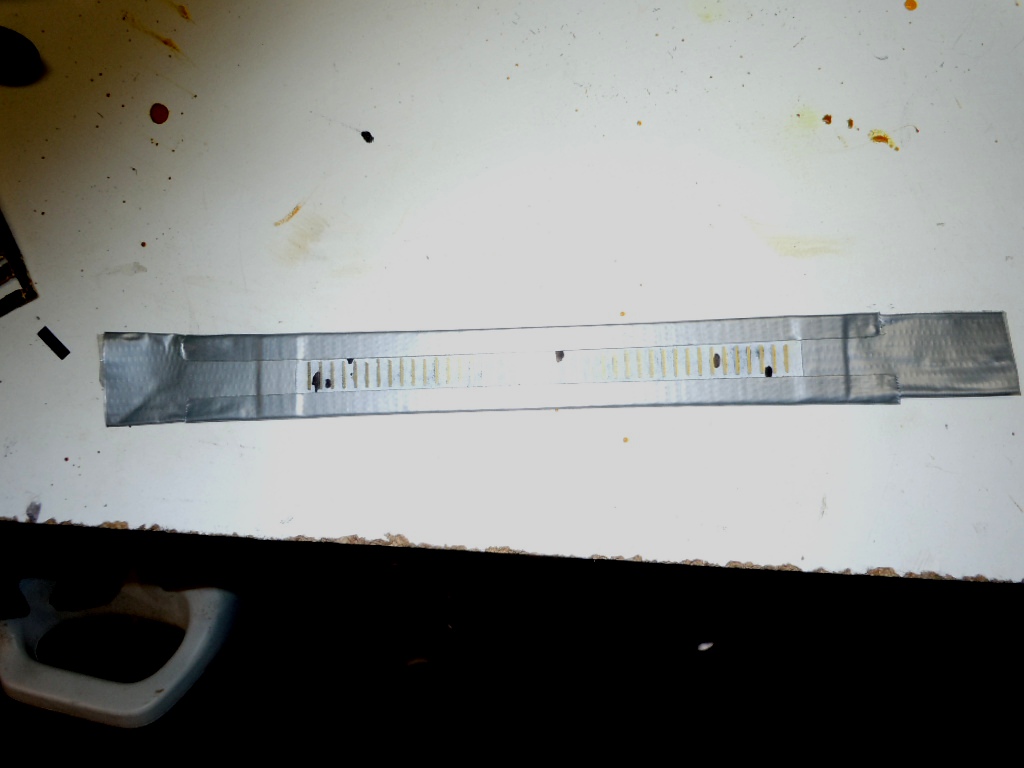
I take the process a step further and cover as much of the exposed brass with duct tape too.

