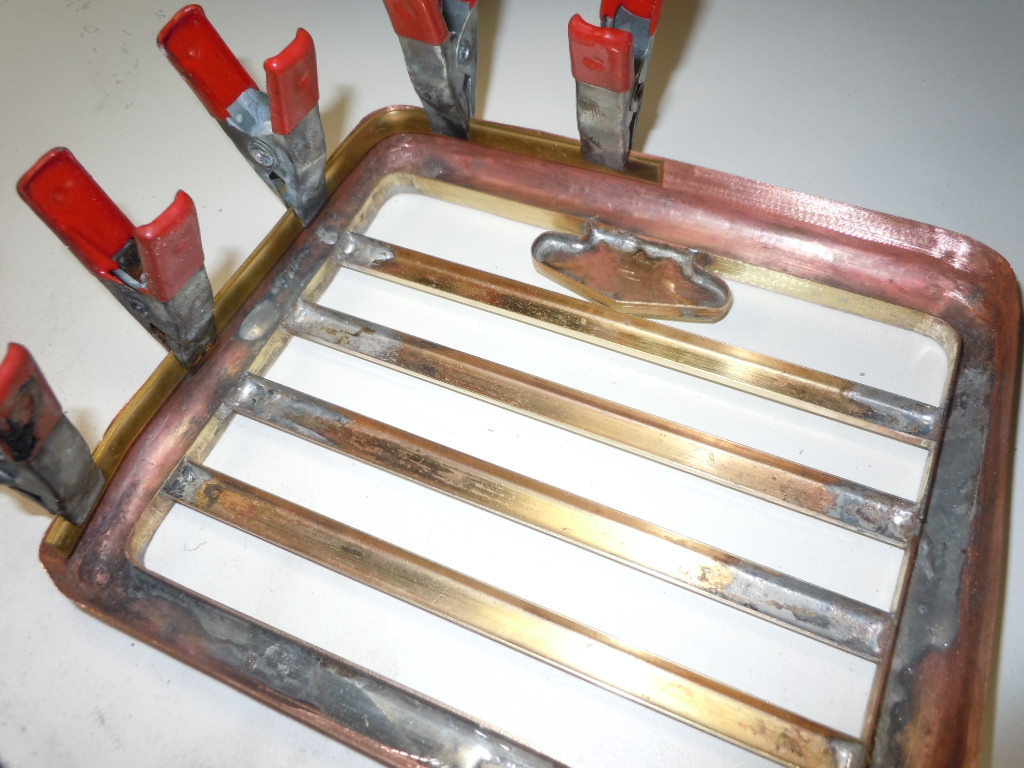
I'm soldering the horizontal bars into the grille opening. These were made at the previous step. I'm also using spacers to get the distances set uniformly.
The center logo section is soldered together.
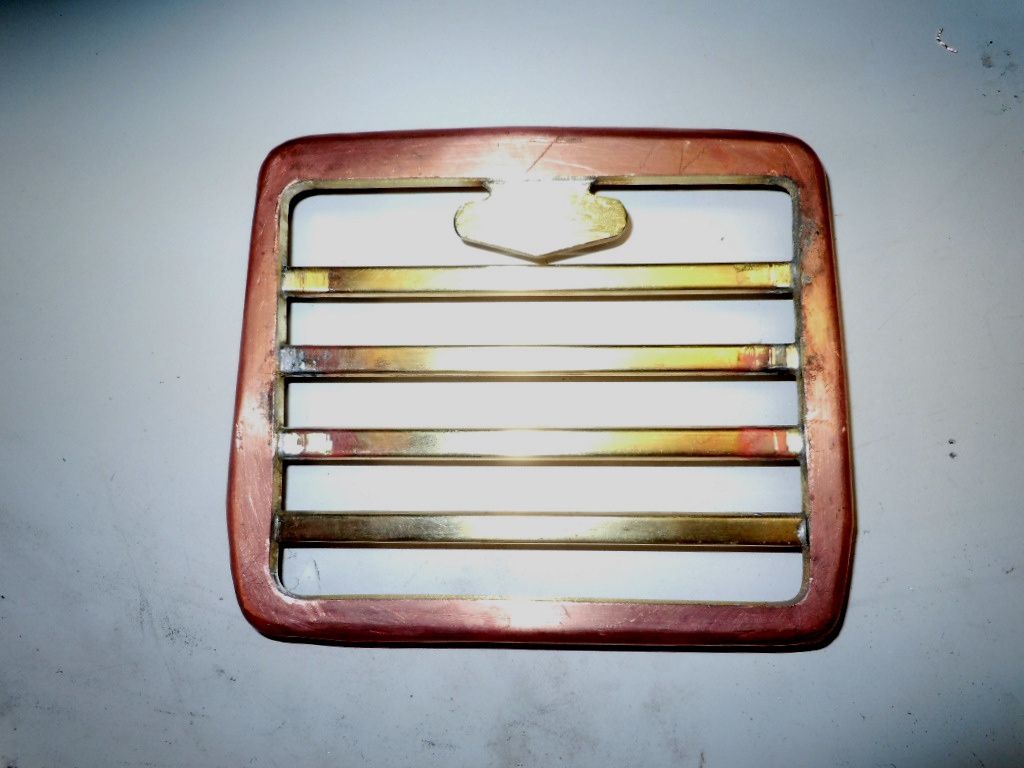
The completed outer grille shell prior to taking a pickle bath. I still have lots to do though.
I am taking 1/4" x .064" brass strips and lining the outer edge. This serves two purposes. One, it strengthens the edge. Two, it gives me a working area for the weatherstrip and hood to fit into.
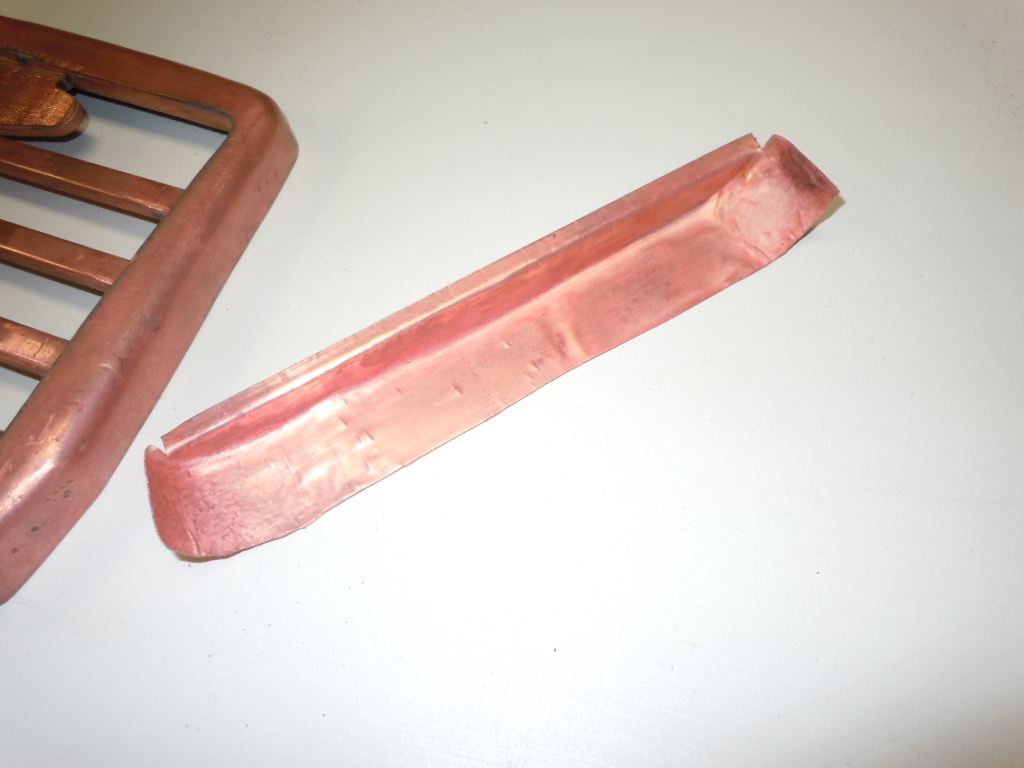
This is the inner top piece. This was formed much the same way the outer shell was made. I used a wood buck and started tapping it. Unlike the seven tries it took me to get a good outer shell, this only took three. :)
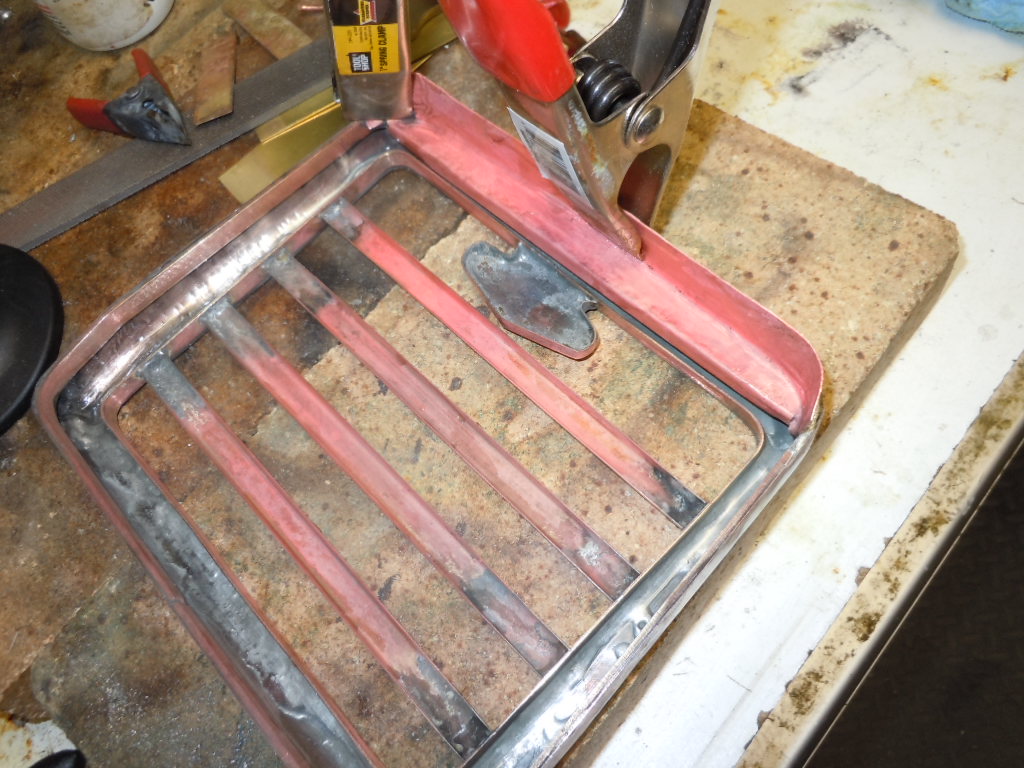
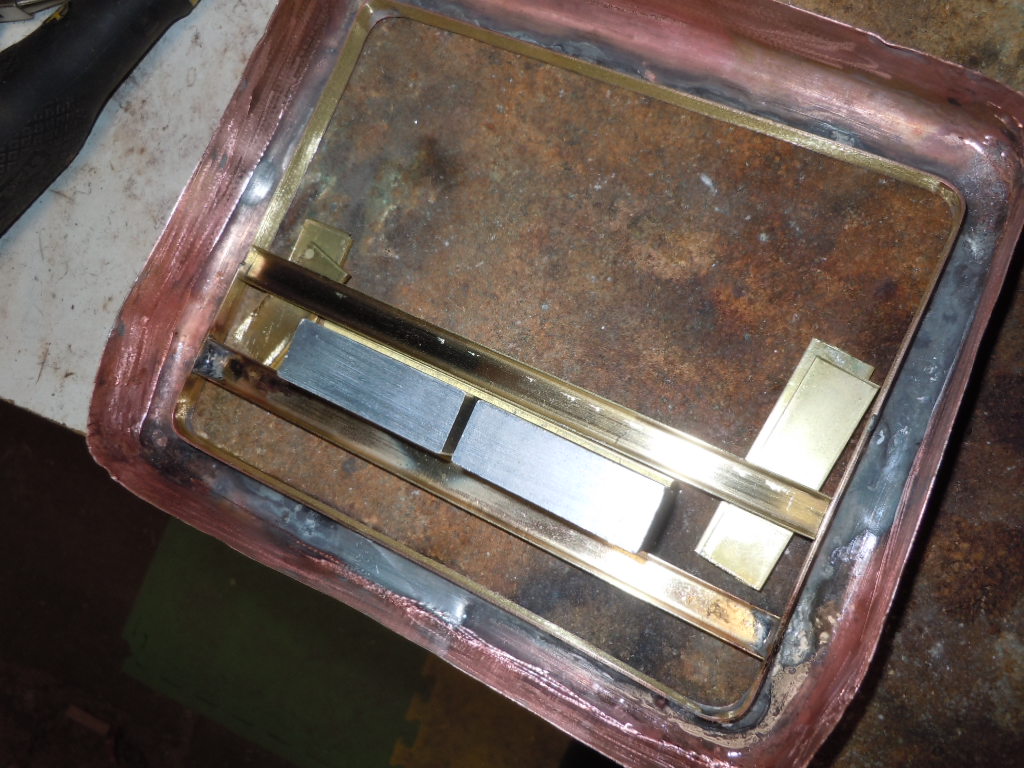
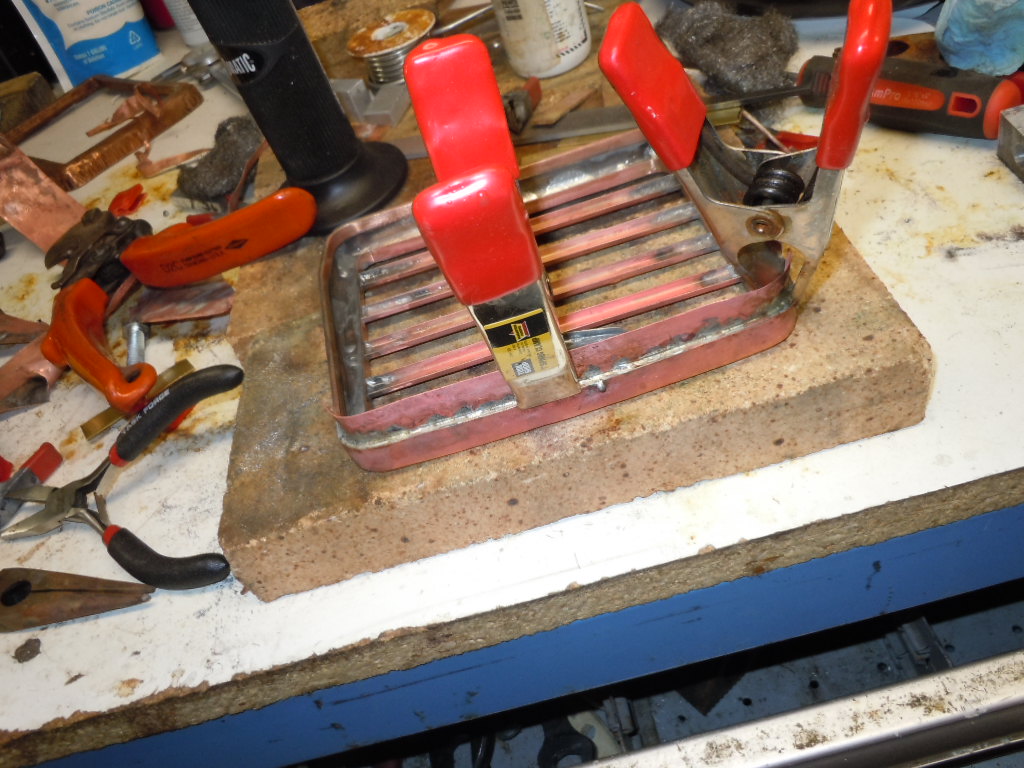
Getting the top piece clamped into place and solderered.
Another view after soldering. Need to do a little cleanup yet.
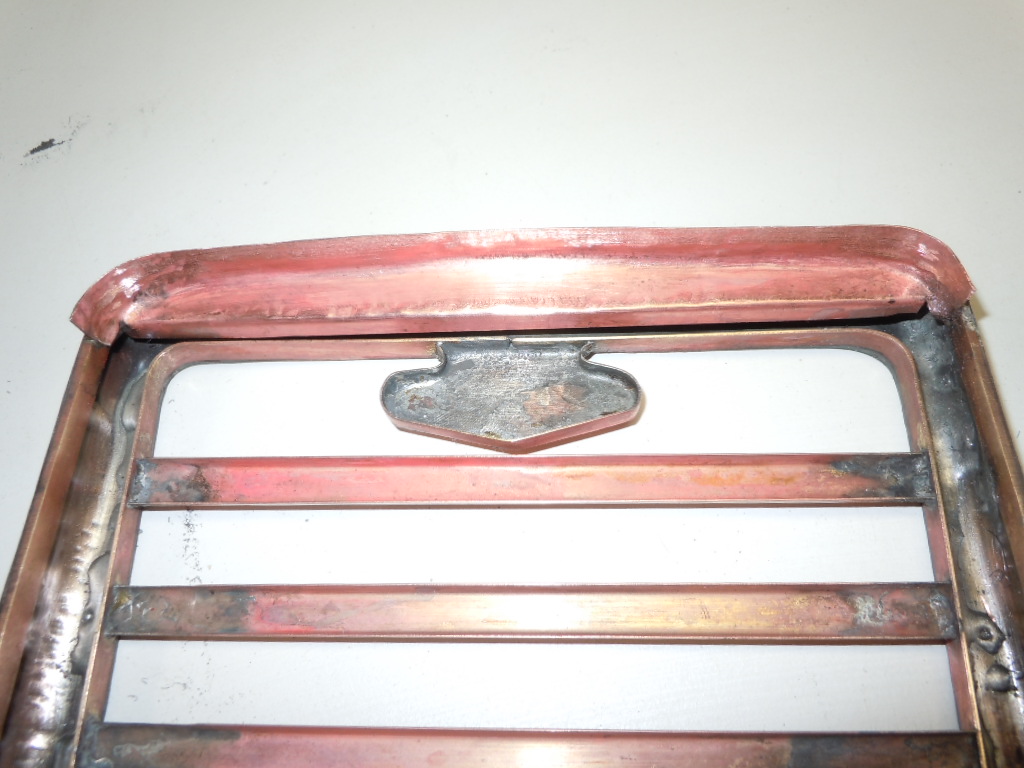
All soldered in.
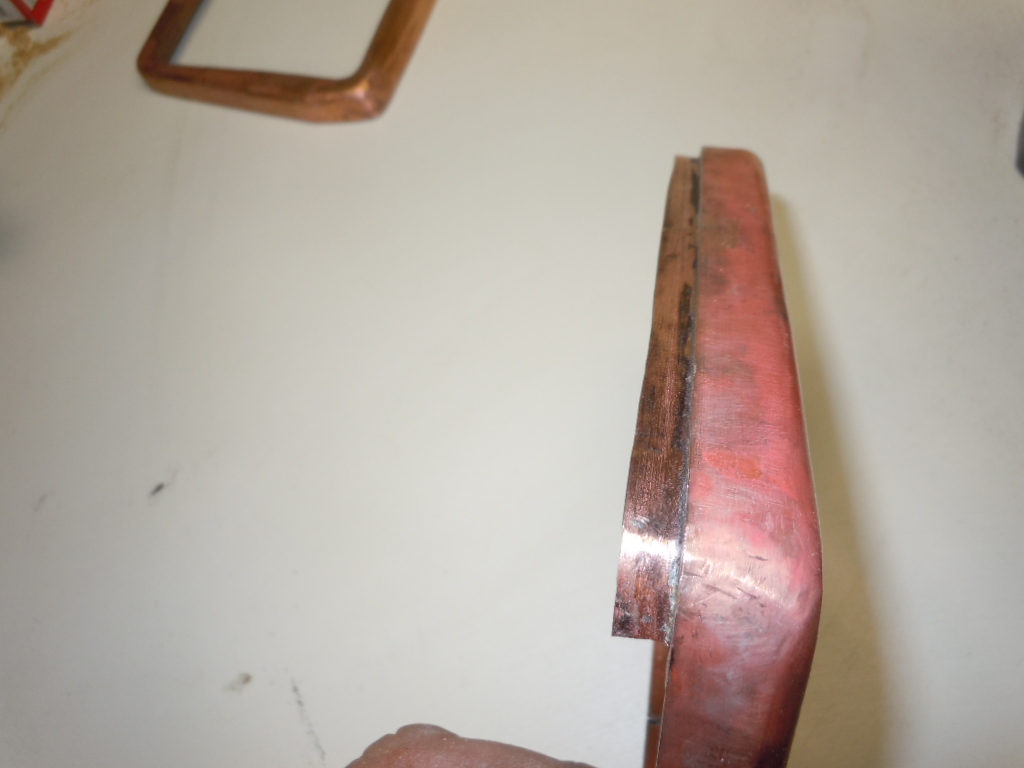
Nice straight lip for the weatherstripping and the hood to lay against. This lip actually gets cut down to about half its width. I'll cut that when I know for sure how much I need to leave.
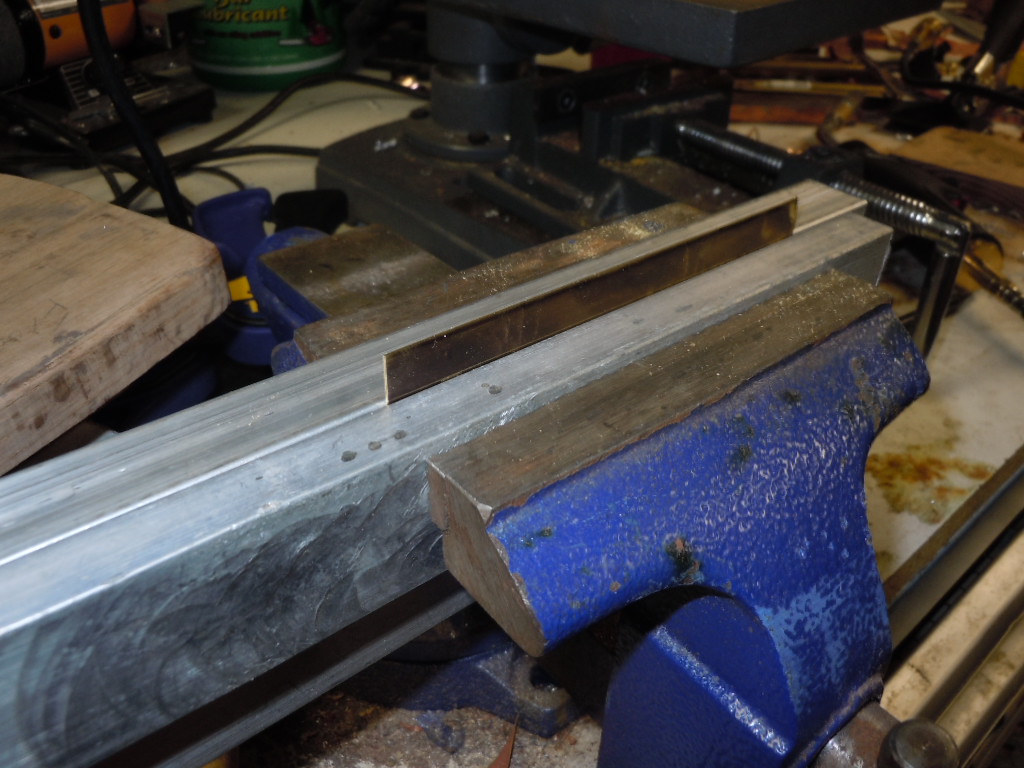
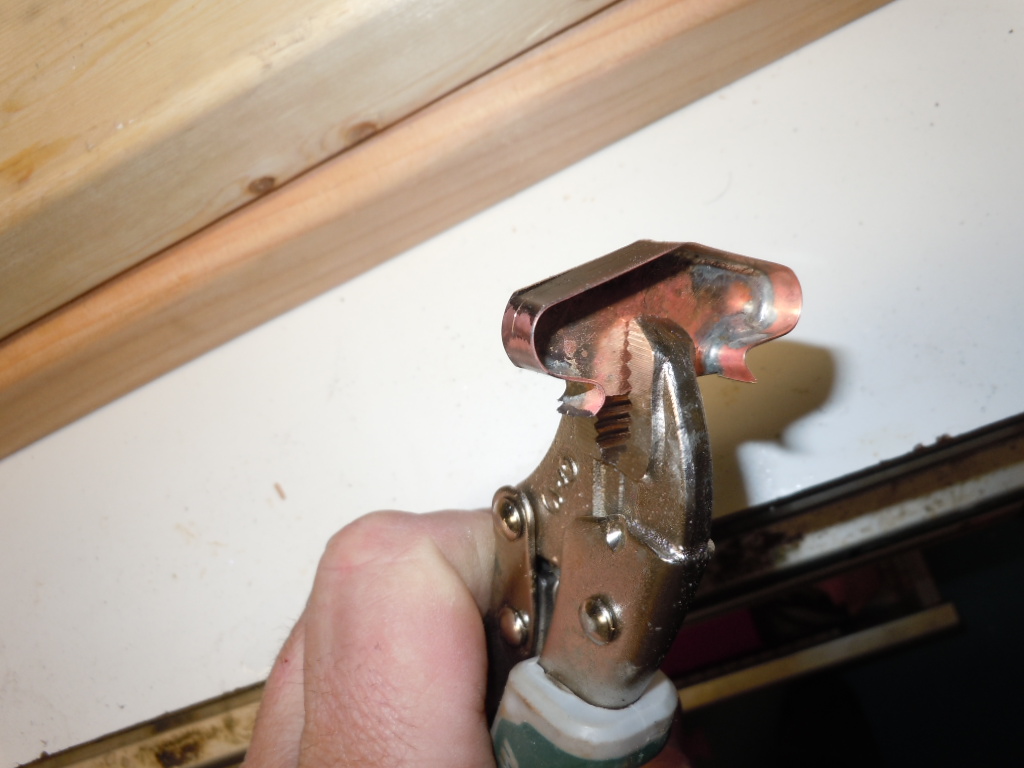
I'm starting to make the side frame pieces. My $49 bender would not bend the thicker .025" brass. Time to improvise. I clampled my brass strip between two pieces of aluminum and hammered it over. Worked pretty good.

