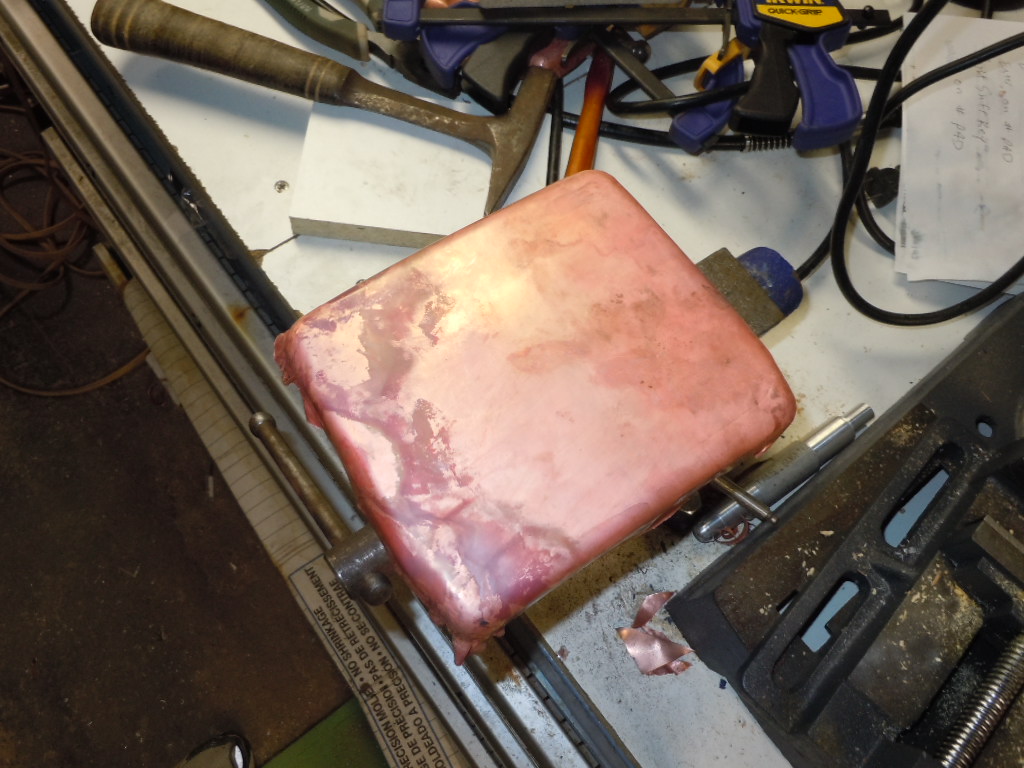
The grille is starting to take shape. While it looks like it is almost done, this is maybe the halfway point.
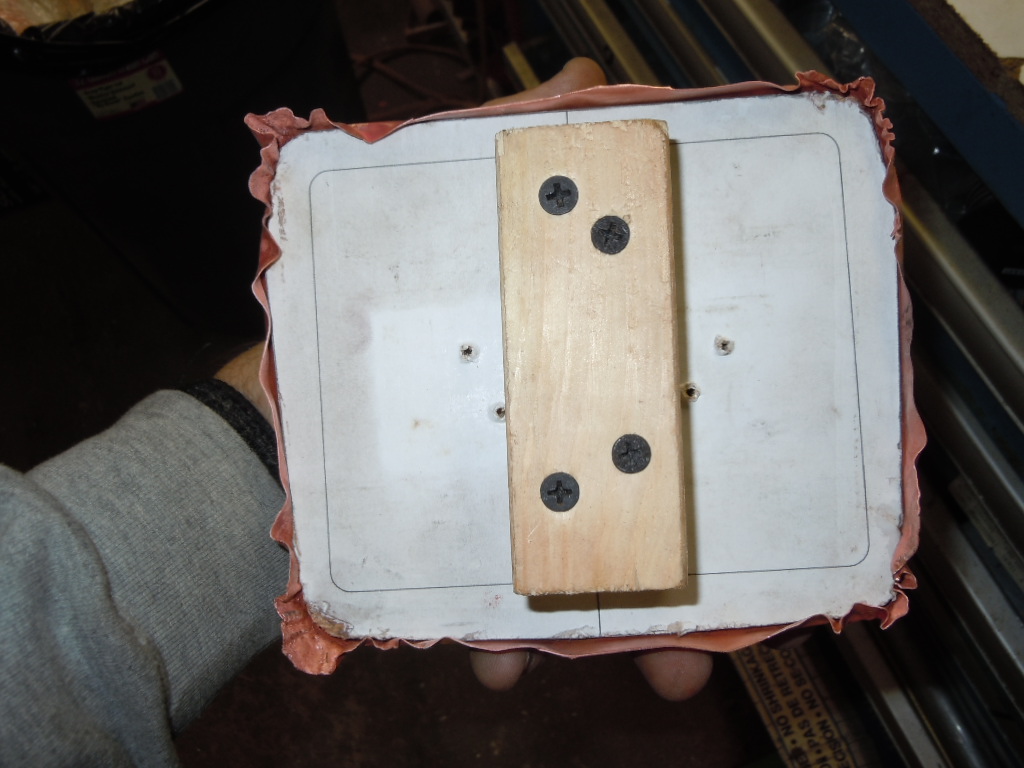
Taking a look at the back side and we can see it needs some work yet to get it to the form. There is also some copper that now can be trimmed.
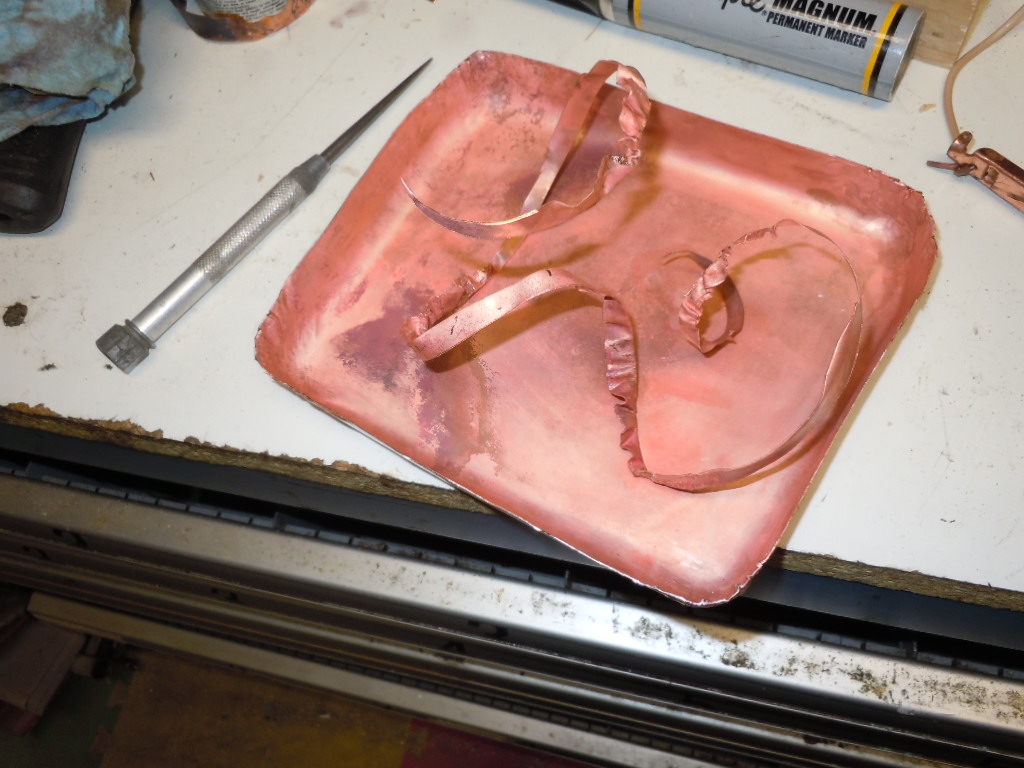
Here I have the excess trimmed off.
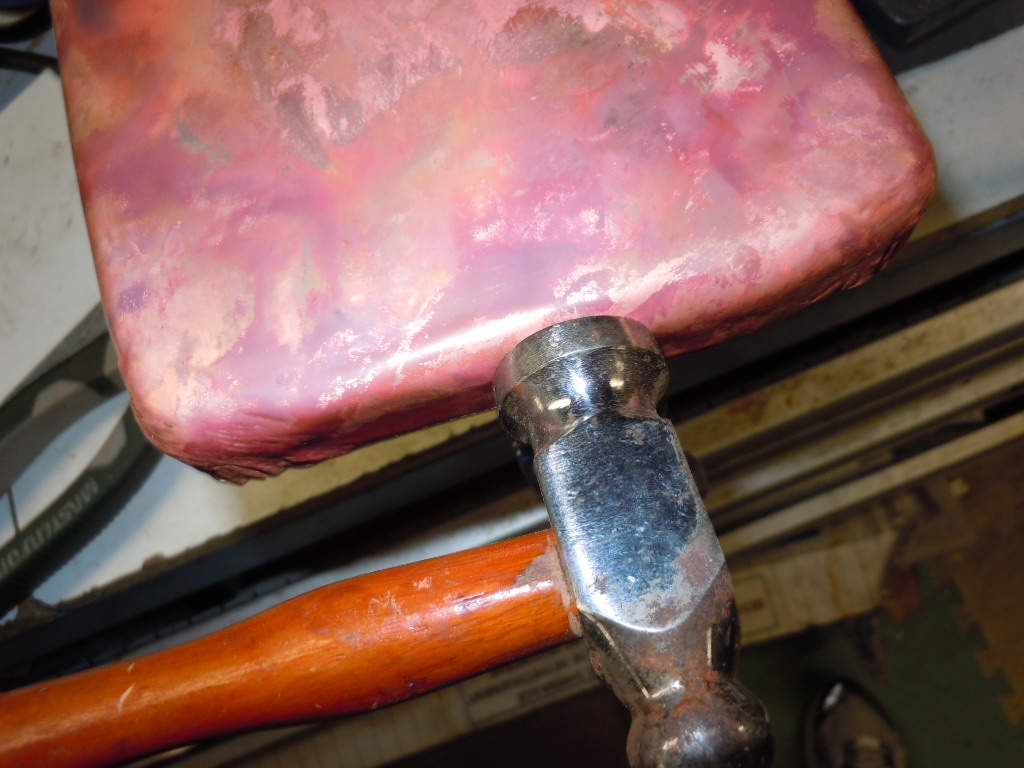
I start to planish the copper over the form with a flat faced hammer.
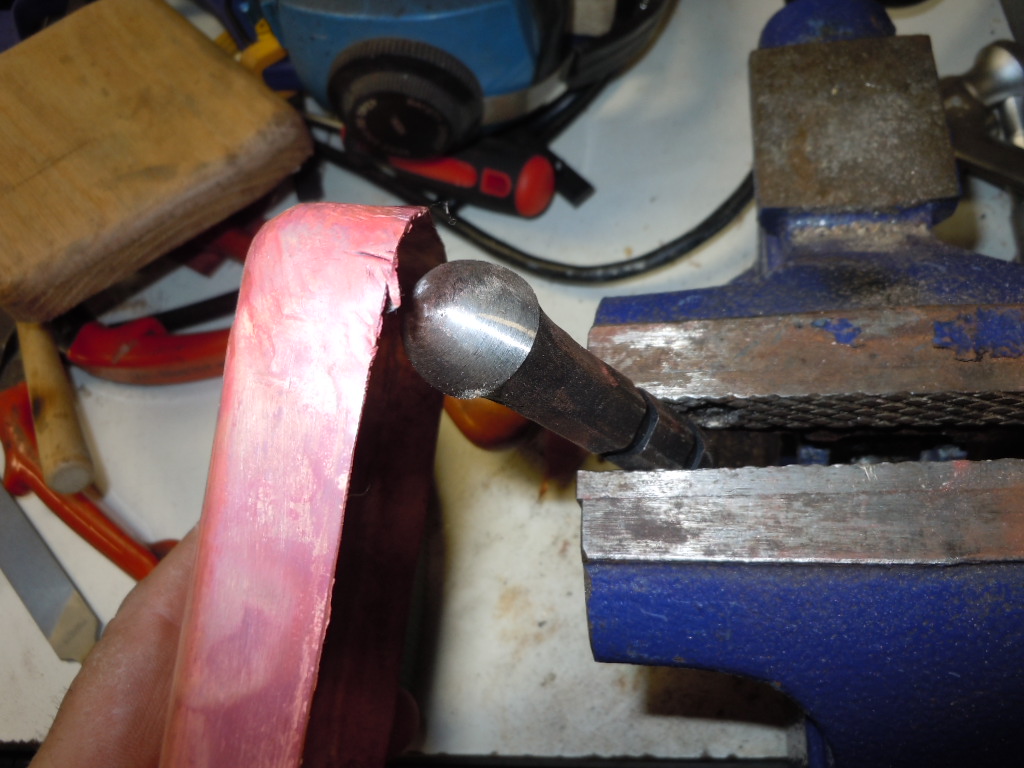
I use this hammer end to form the corners better.
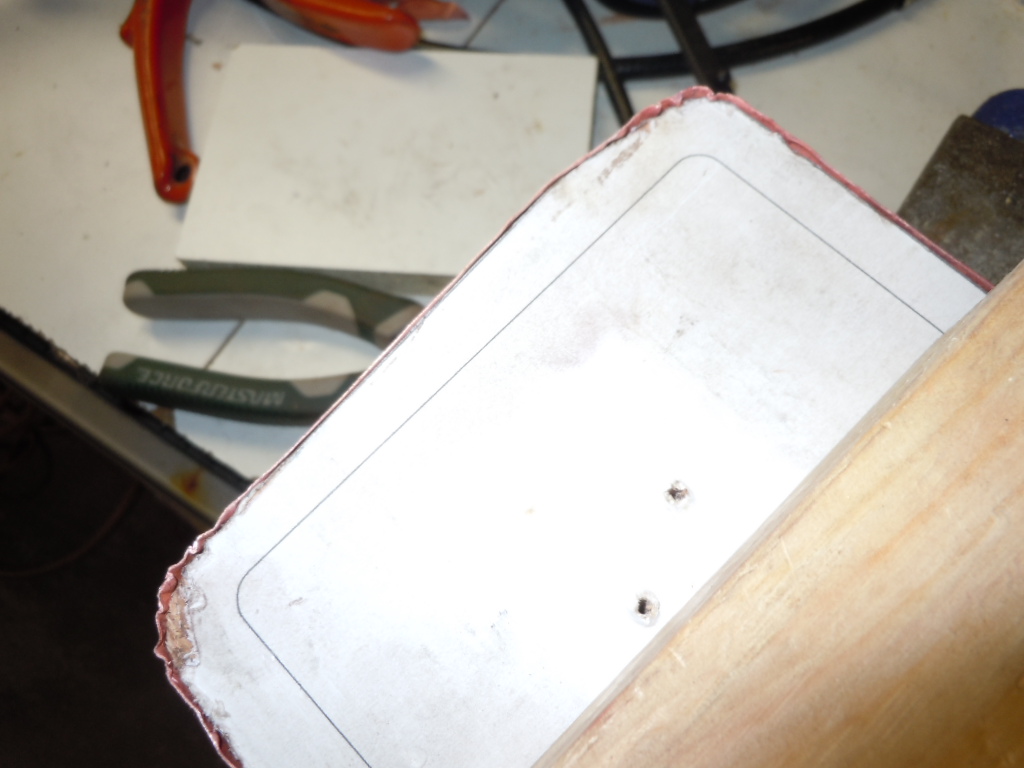
Eventually I got to this. Fits nice and tight.
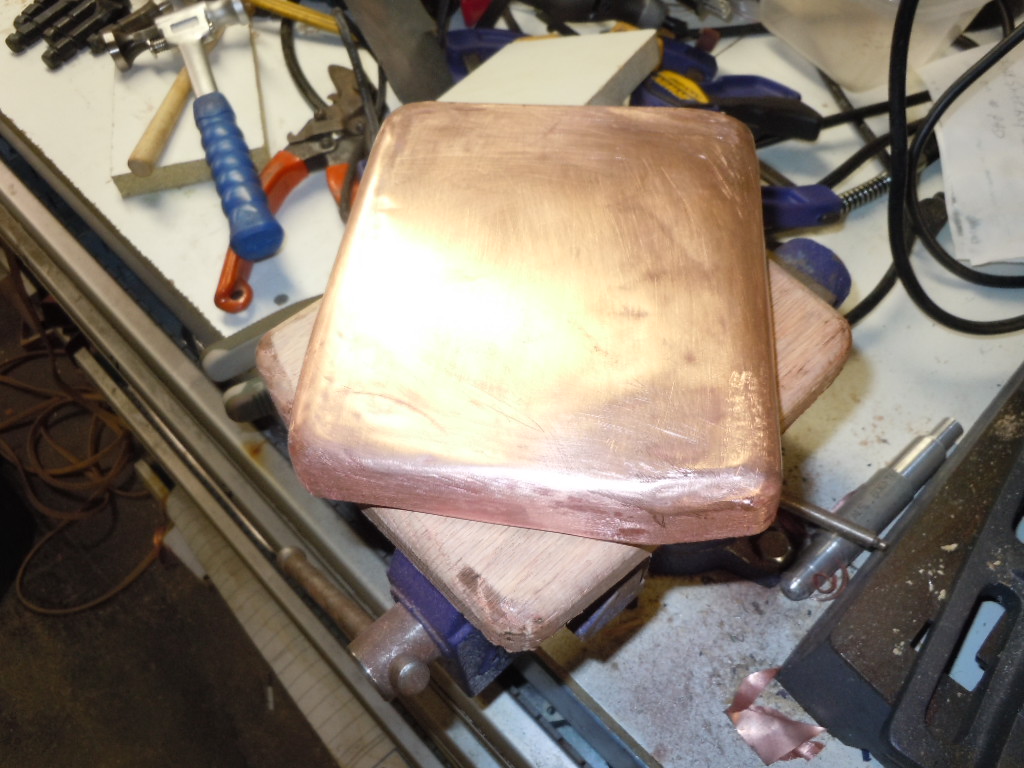
At this stage, the hammer work is mostly done. I still need to cut the center out and add some pieces inside.
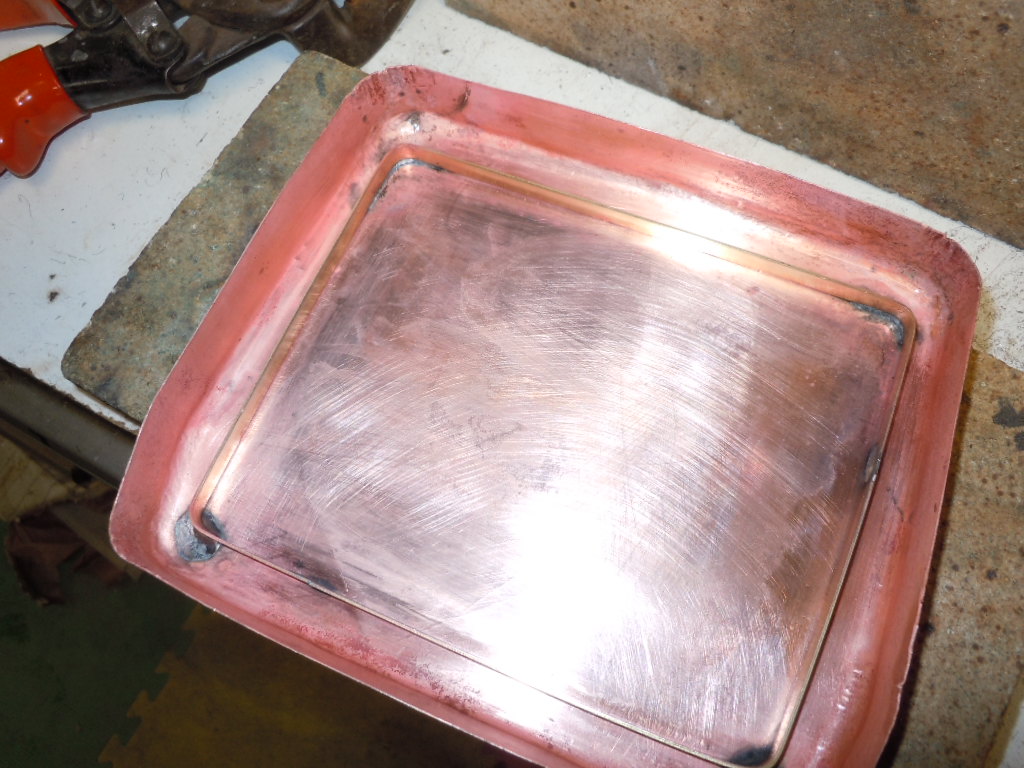
There is an inner lip around the edge of the cutout. During my various practices, I found it was easier to solder the framework in from the inside and then cut out the center. I also used a rectangular piece of aluminum to keep the frame nice and square while I soldered it. Once it was soldered, the aluminum popped right out.
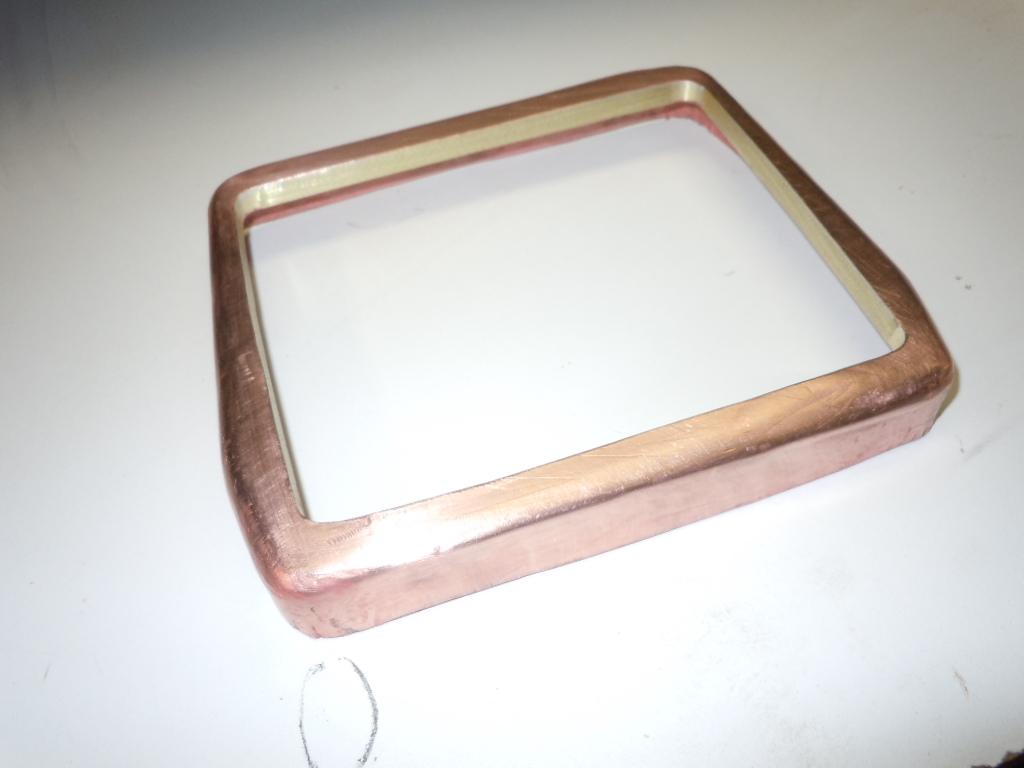
The grille with the center cut out.
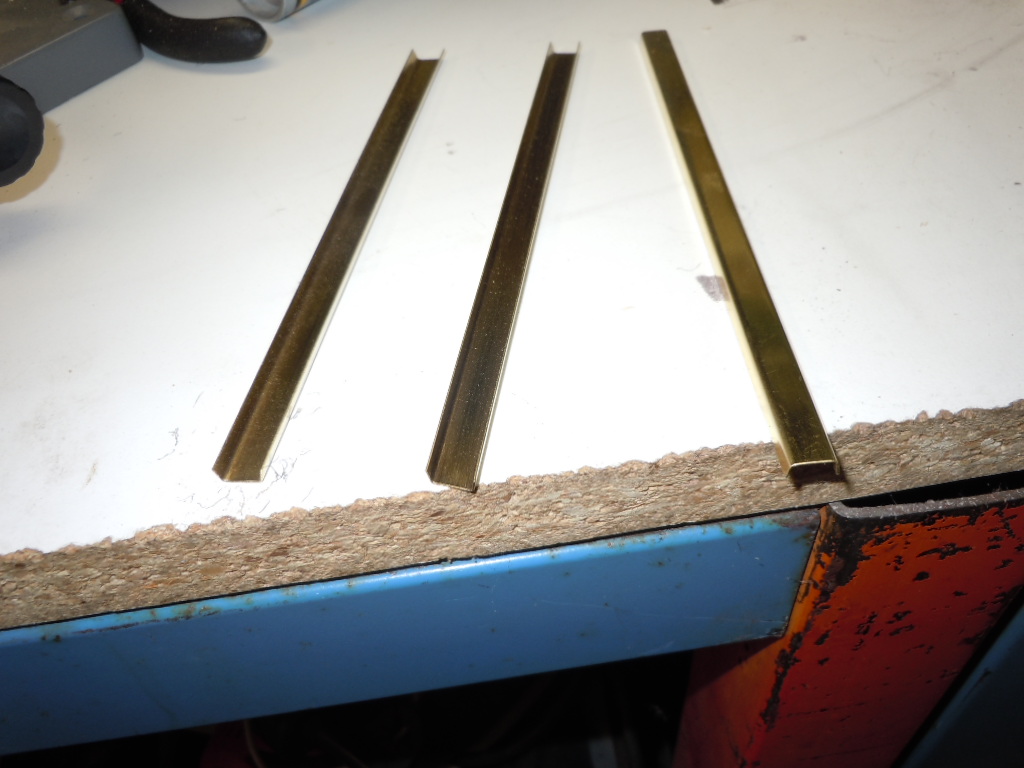
Bent up some brass for the center bar sections.

