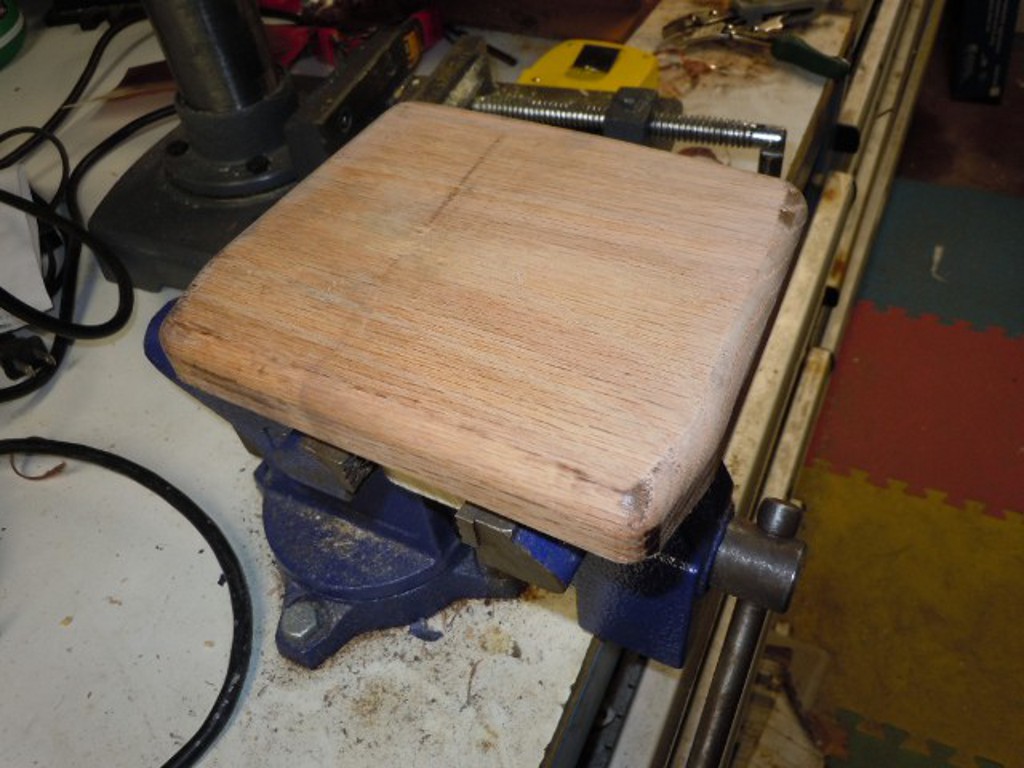
First step was to make a wood hammer form.
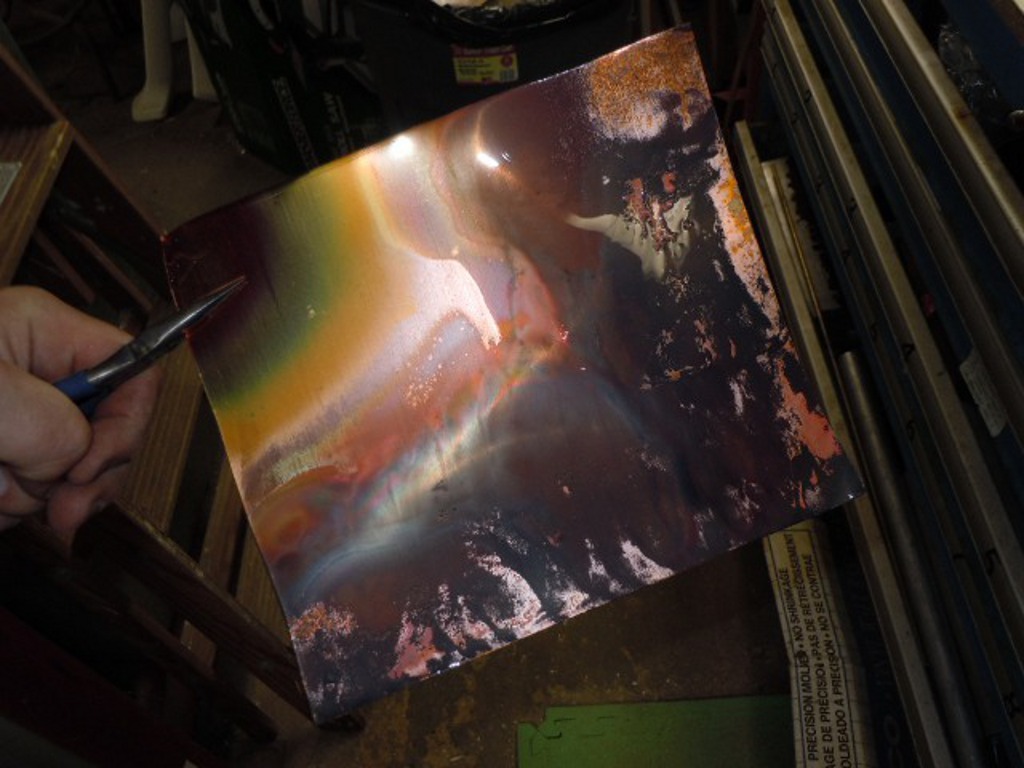
I am using copper flashing here that is around .015" thick. I heat the copper almost red hot and then quench it in water. This anneals (softens) the copper so it is workable.
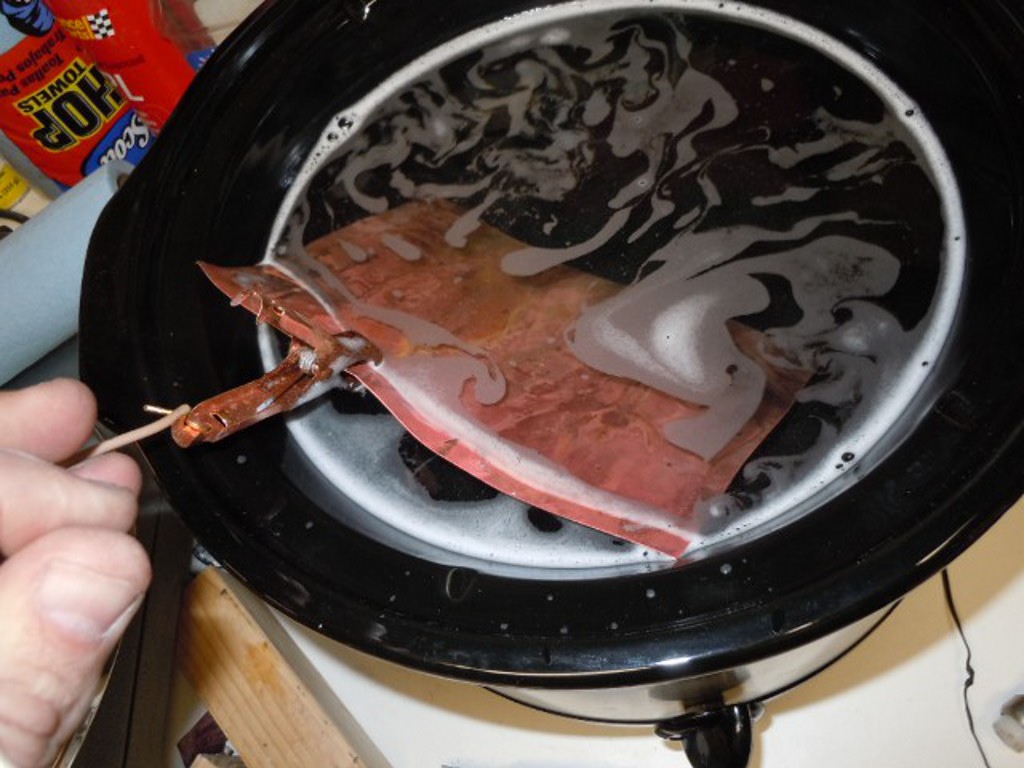
I have a crockpot that I use with Sparkex #3. This is a pickling solution that jewelry stores use to clean jewelry. It cleans all the soot and burn marks off the copper. I believe this also helps the workability of the copper.
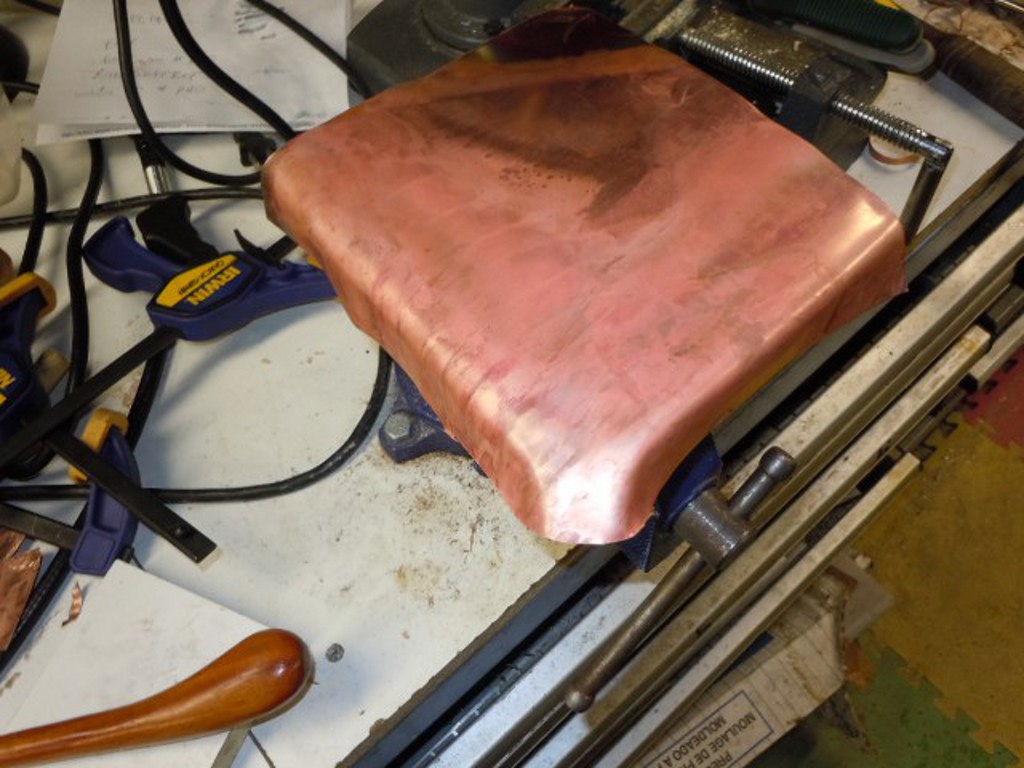
I bend the copper sheet over all four sides of the wood form.
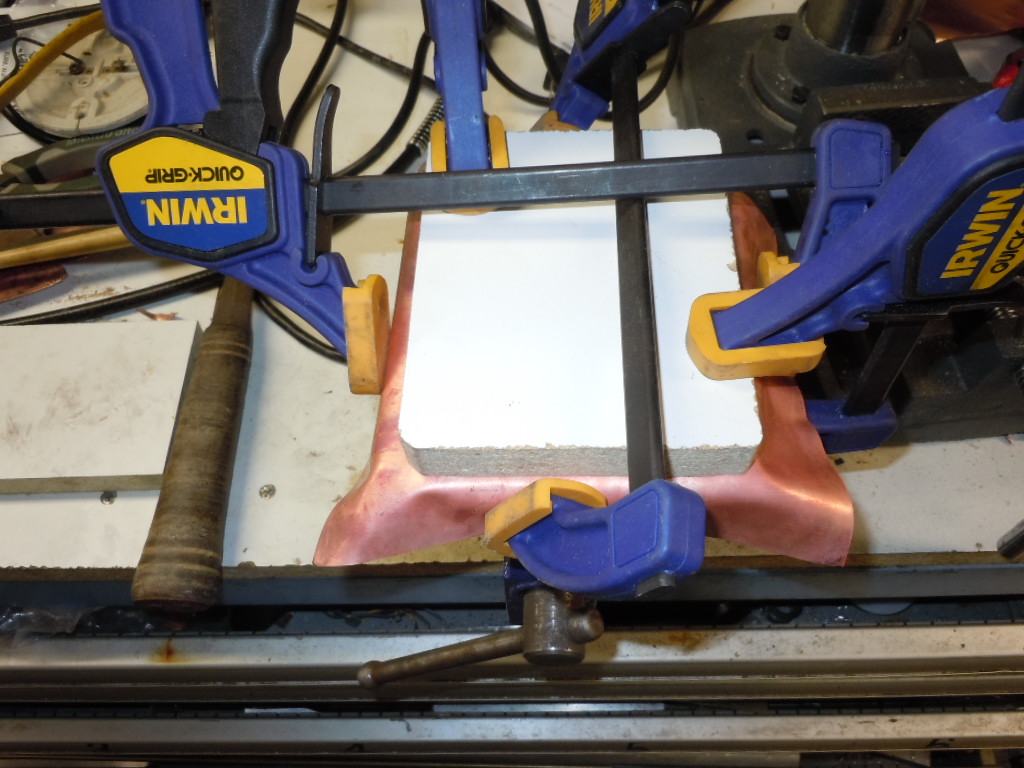
I use a wood block to help hold the top of the copper down and I also use clamps close to the corner that I am going to work.
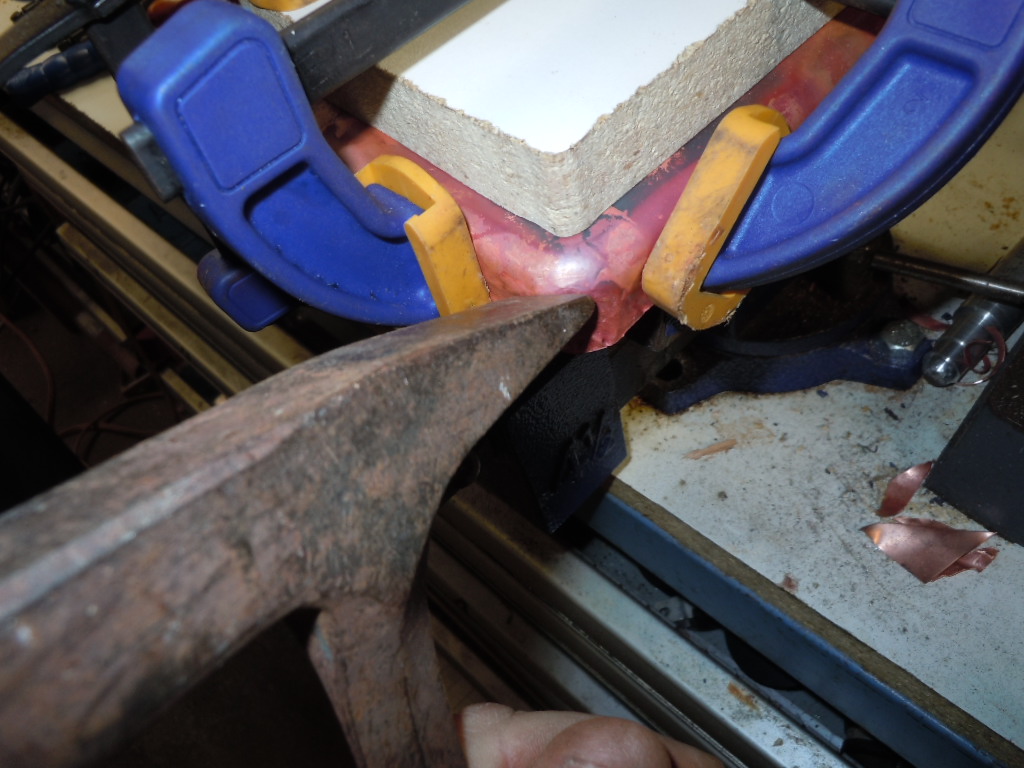
This is the hammer style I use to do most of the hammering. The big thing to remember is don't work the metal too fast. I found it is better to take a whole bunch of light "tap, tap, taps" instead of one big "WHACK." .
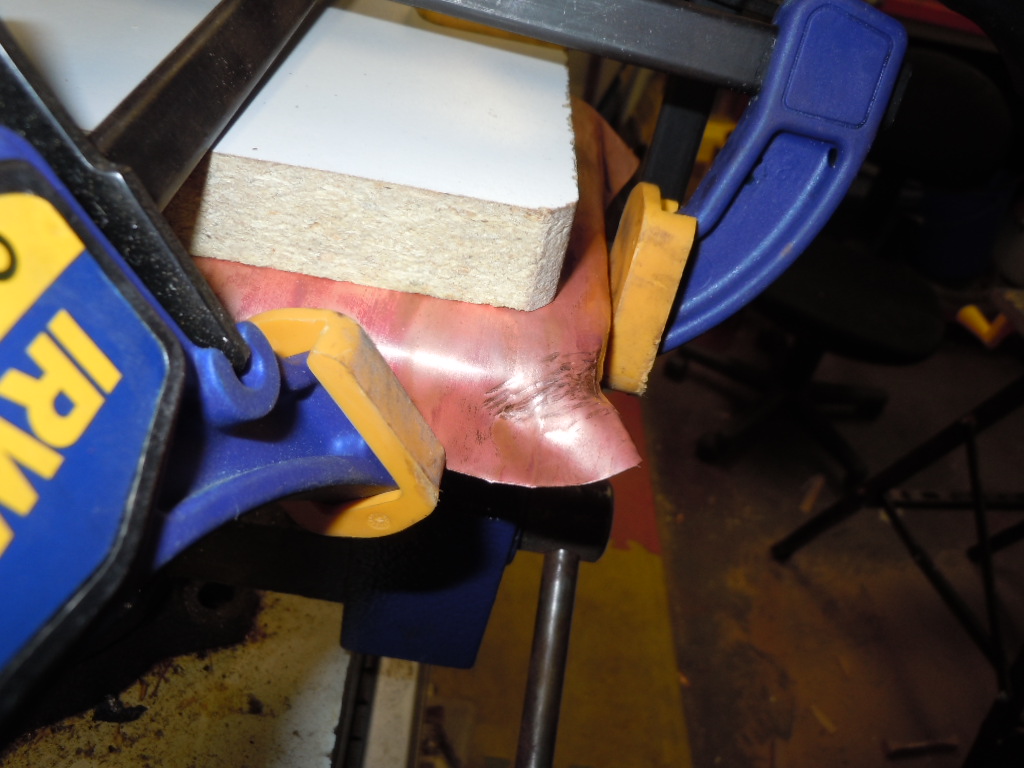
This is probably 25 light taps or so. Another thing that I did was to round the corner before I worked the metal. I'll trim it a couple of times as I work the copper over the form.
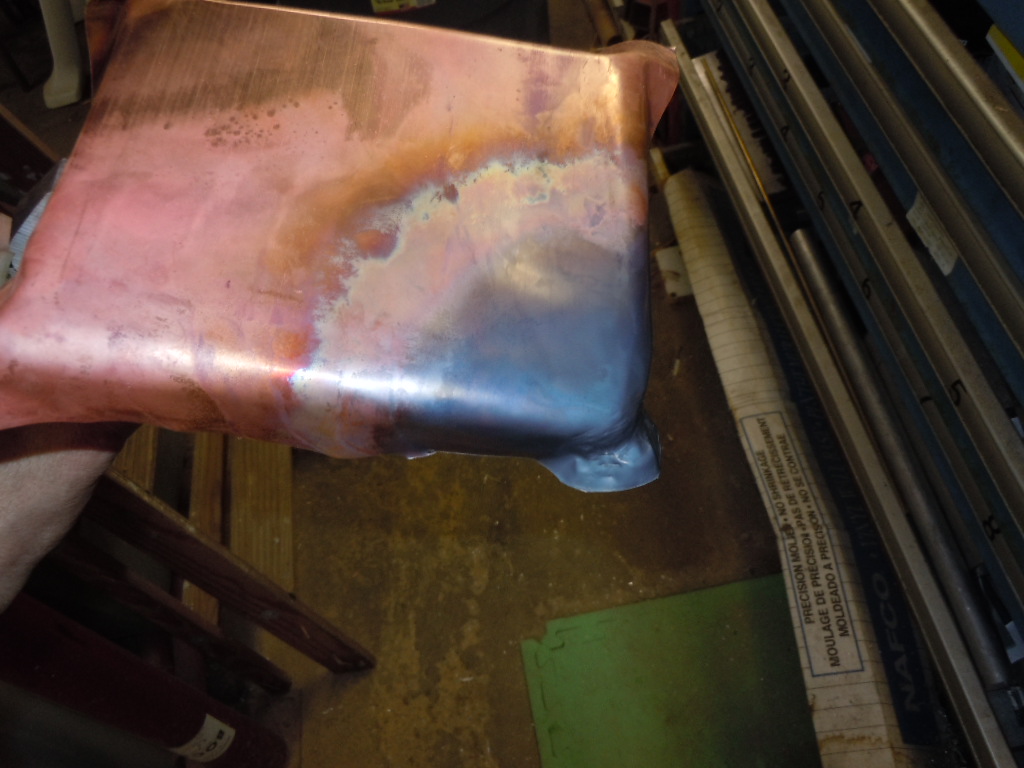
As you work the copper, it will work harden with all the hammering. Take it off the form, heat it up, quench it in water, and send it through the pickle bath. I probably did this 5 or 6 times throughout the process. Also notice how I keep the bottom edge flared out. This helps to keep the copper from buckling in on itself.
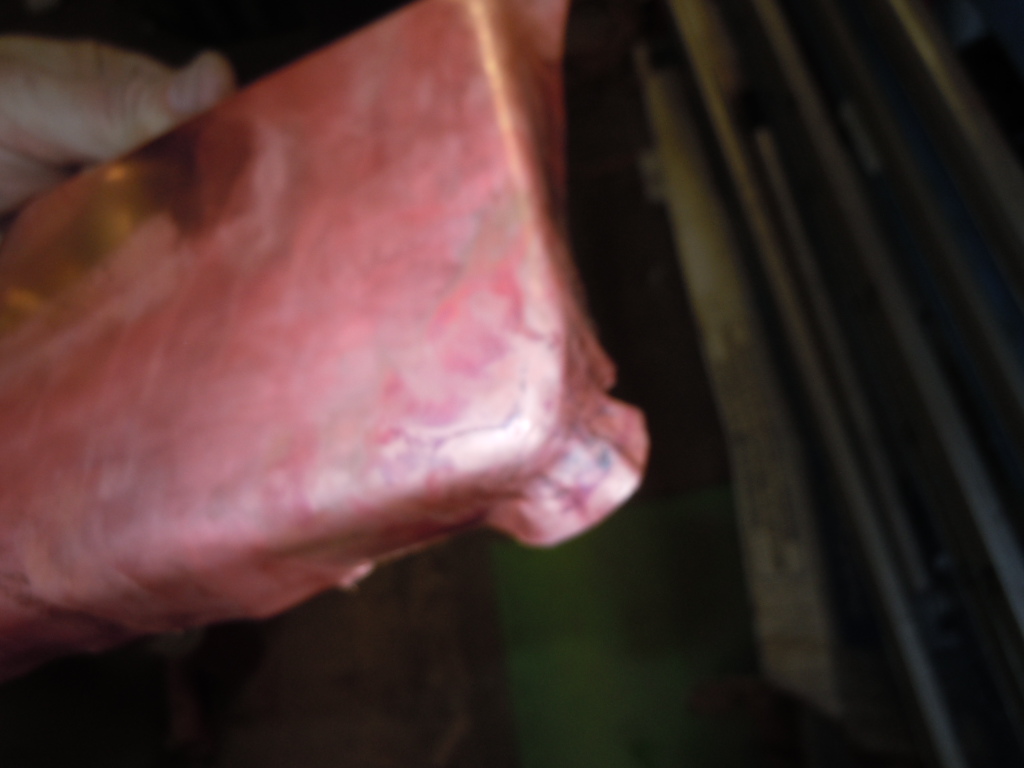
Same shot as above bent this is after being cleaned up in the pickle solution.
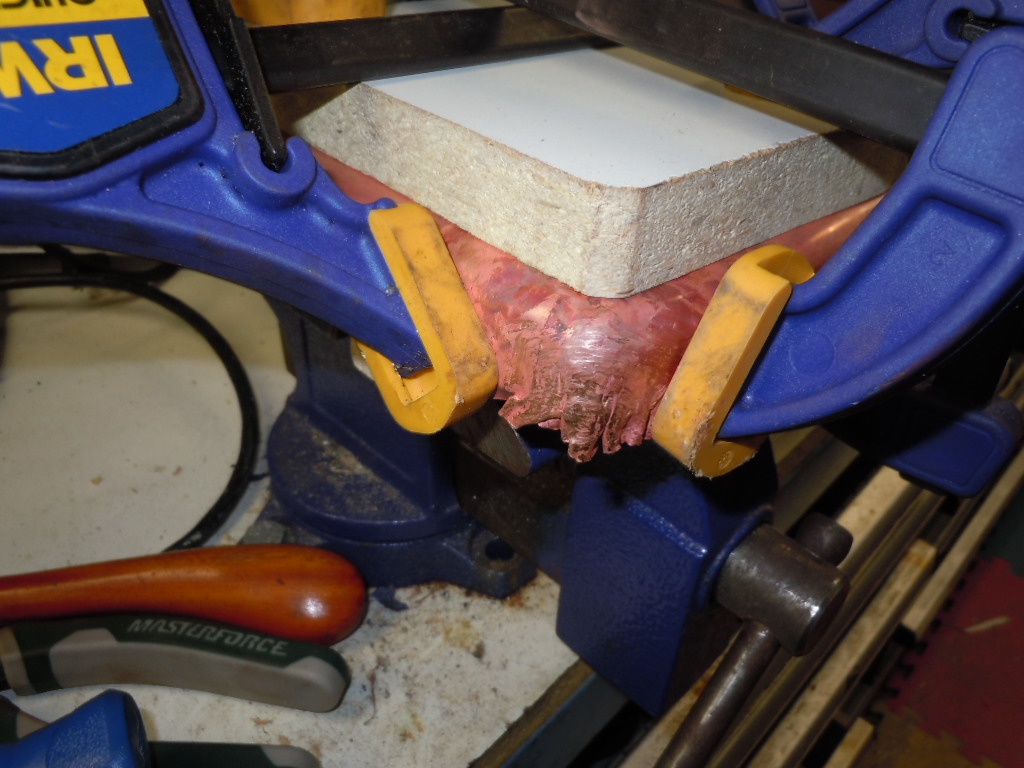
You can see where I worked my way down and even then some of it buckled. On this part, it is OK as I have about a 1/4" I can trim off and it will catch most of the buckled material when I trim it.

